

Azure Traffic Manager allows developers to control the distribution of user traffic for service endpoints in different datacenters. Service endpoints supported by Traffic Manager include Azure Virtual Machines, Web Apps, and cloud. Traffic Manager uses the Domain Name System (DNS) to direct client requests to the most appropriate endpoint based on a traffic-routing method. Traffic Manager can be used with external, non-Azure endpoints as well.
In this article, I will create an Azure Traffic Manager profile with priority-based routing methods and demonstrate the functionality of Azure Traffic Manager.
Azure Traffic Manager Routing Methods
The following traffic routing methods are available in the Azure Traffic Manager:
- Priority: “Priority” is the primary service endpoint that will be used for all traffic.
- Weighted: The traffic will be distributed either evenly or according to weights defined in the endpoints.
- Performance: If you have endpoints in different geographic locations then you can opt for this routing method.
- Geographic: A region – or a set of regions – is assigned to an endpoint, then users are directed to specific endpoints.
- Multivalue: For IPv4/IPv6 addresses as endpoints, select “MultiValue” for Traffic Manager profiles.
- Subnet: A subnet routing method to map sets of end-user IP address ranges to a specific endpoint.
How to Create a Traffic Manager Profile
Before creating a Traffic Manager profile, we first have to create a new Web App from Visual Studio and deploy it in Azure App services. You can find the steps to create a Web App and deploy it in a previous article on our sister site.
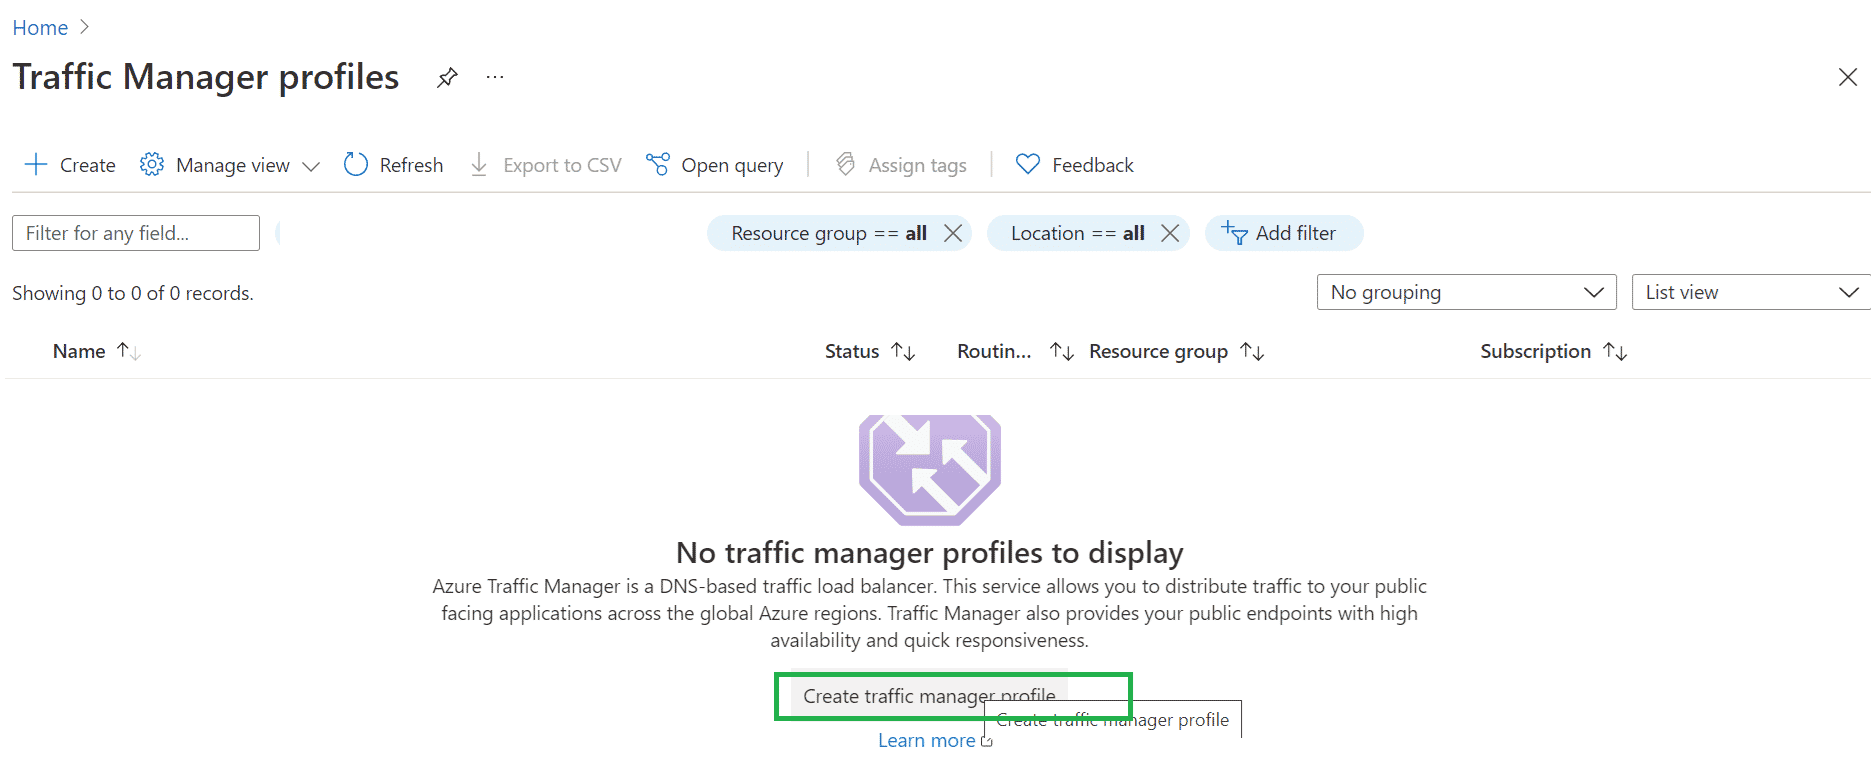
To begin, login to Azure Portal. Click “Traffic Manager Profiles” on the home page or select “Create Resource” and choose “Traffic Manage Profiles”. See the image below for more.
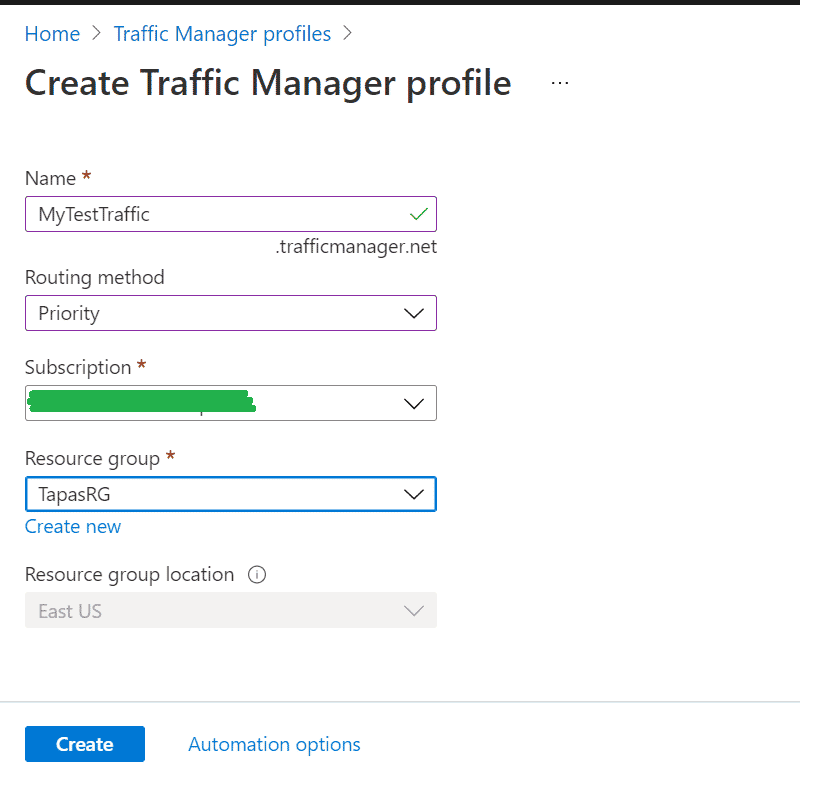
Next, enter the values depicted in the following image. Here, we have given the Routing Method as “Priority”. Click the “Create” button.
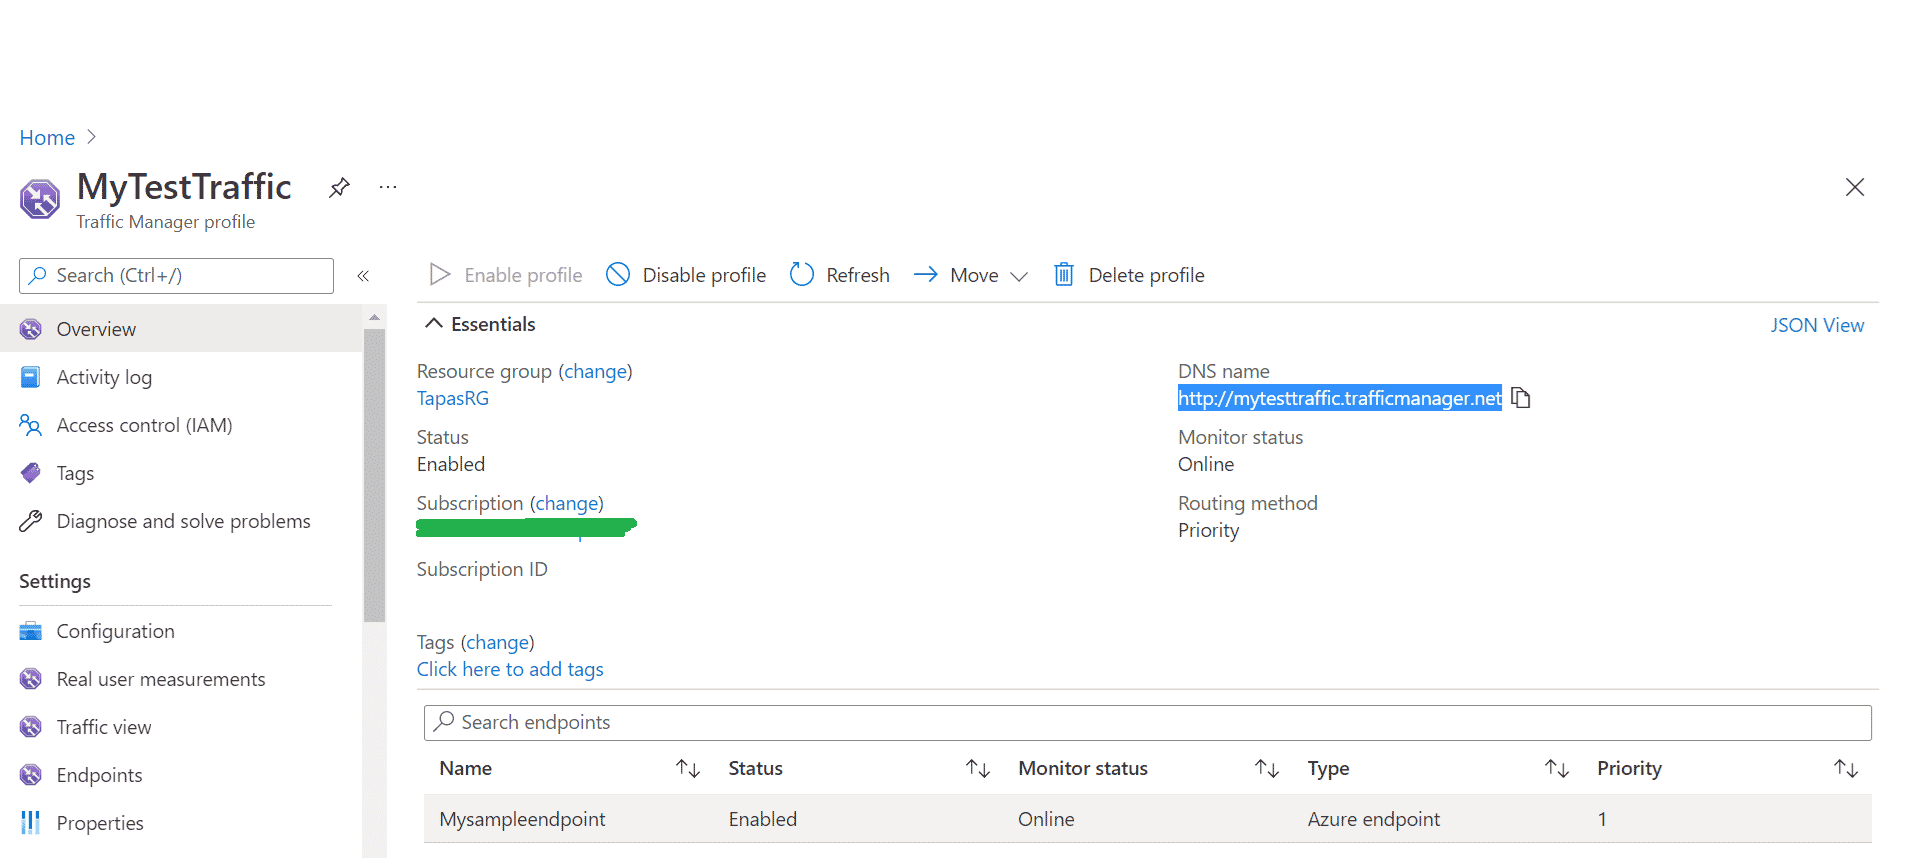
The “MyTestTraffic” Traffic Manager profile should now be created. You can see this on the “Traffic Manager Profiles” page. See the image below:
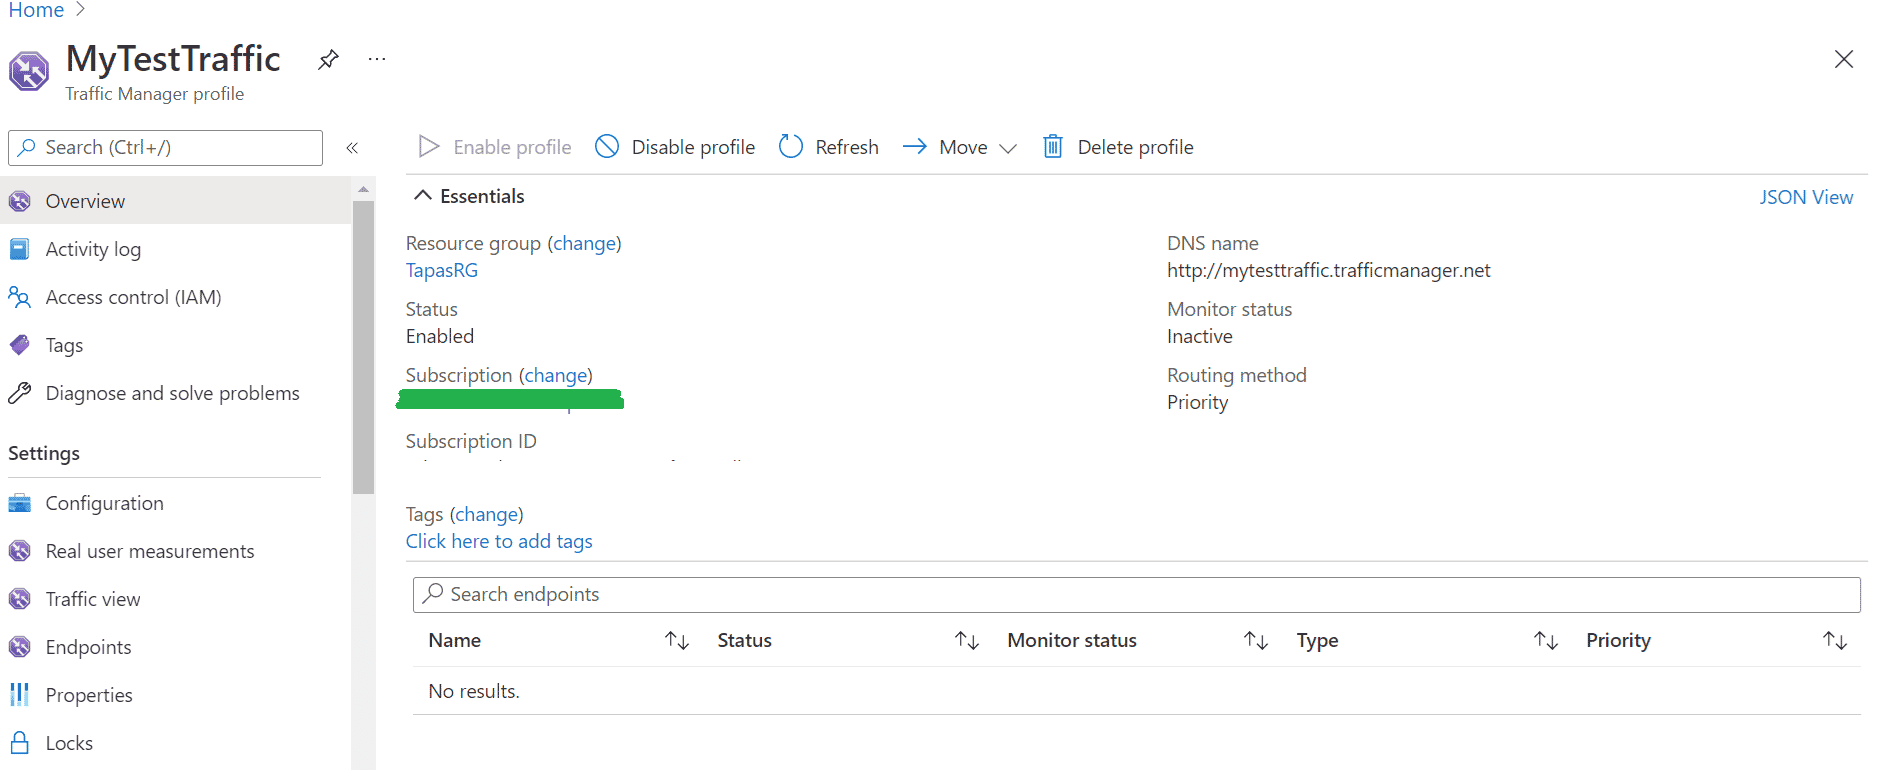
Next, click “MyTestTraffic” and the corresponding traffic manager page will open. The Routing Method is “Priority” and the DNS Name is the URL (http:// MyTestTraffic.trafficmanager.net/) of the Traffic Manager.
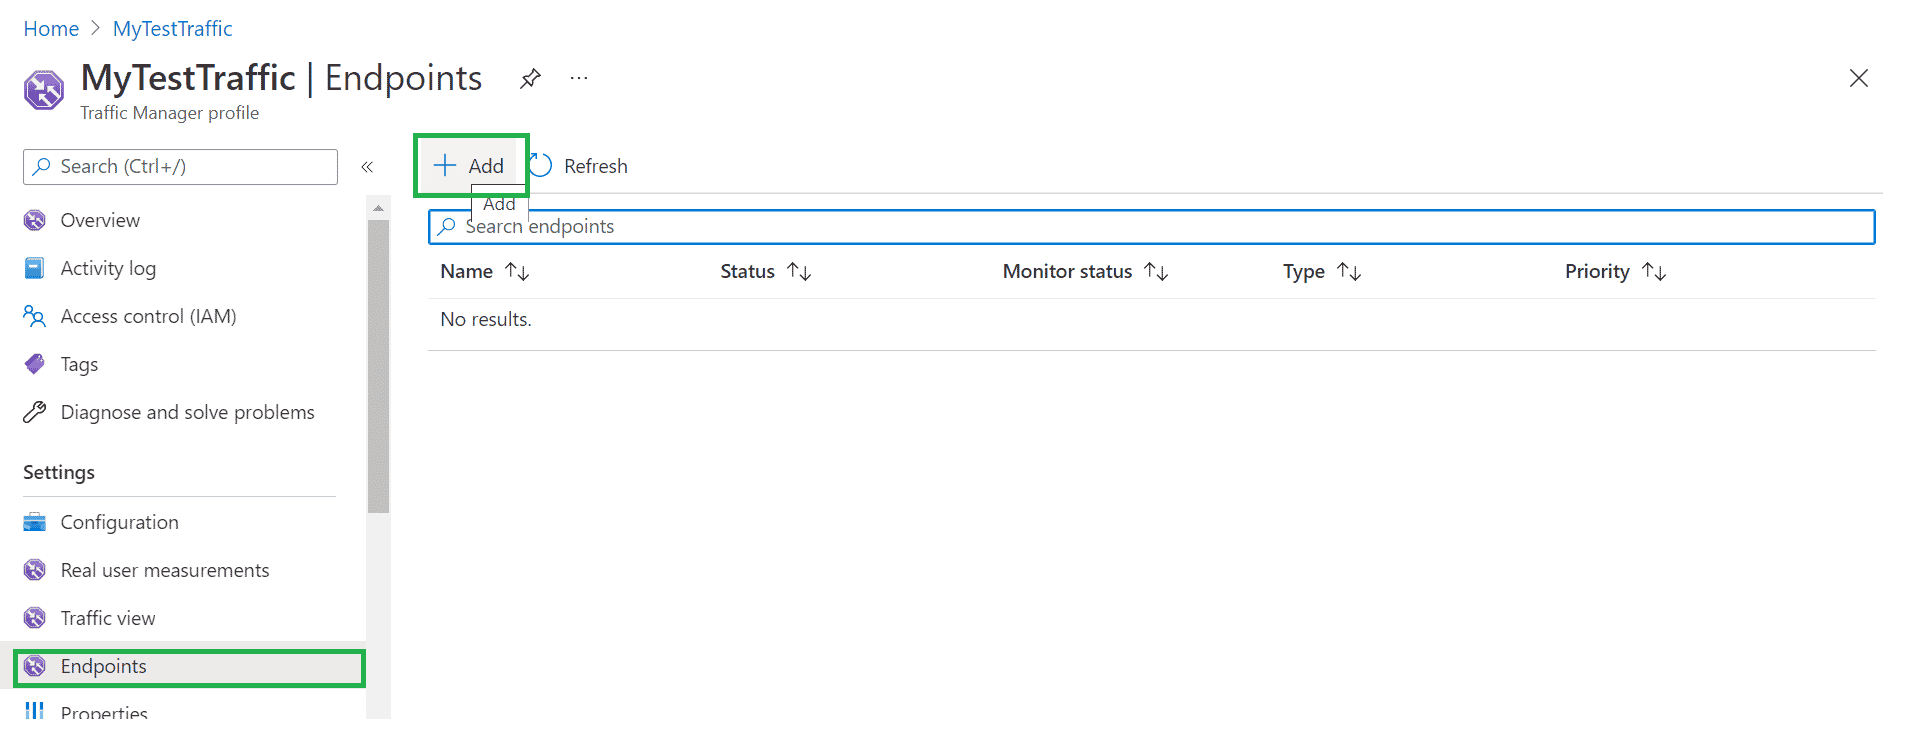
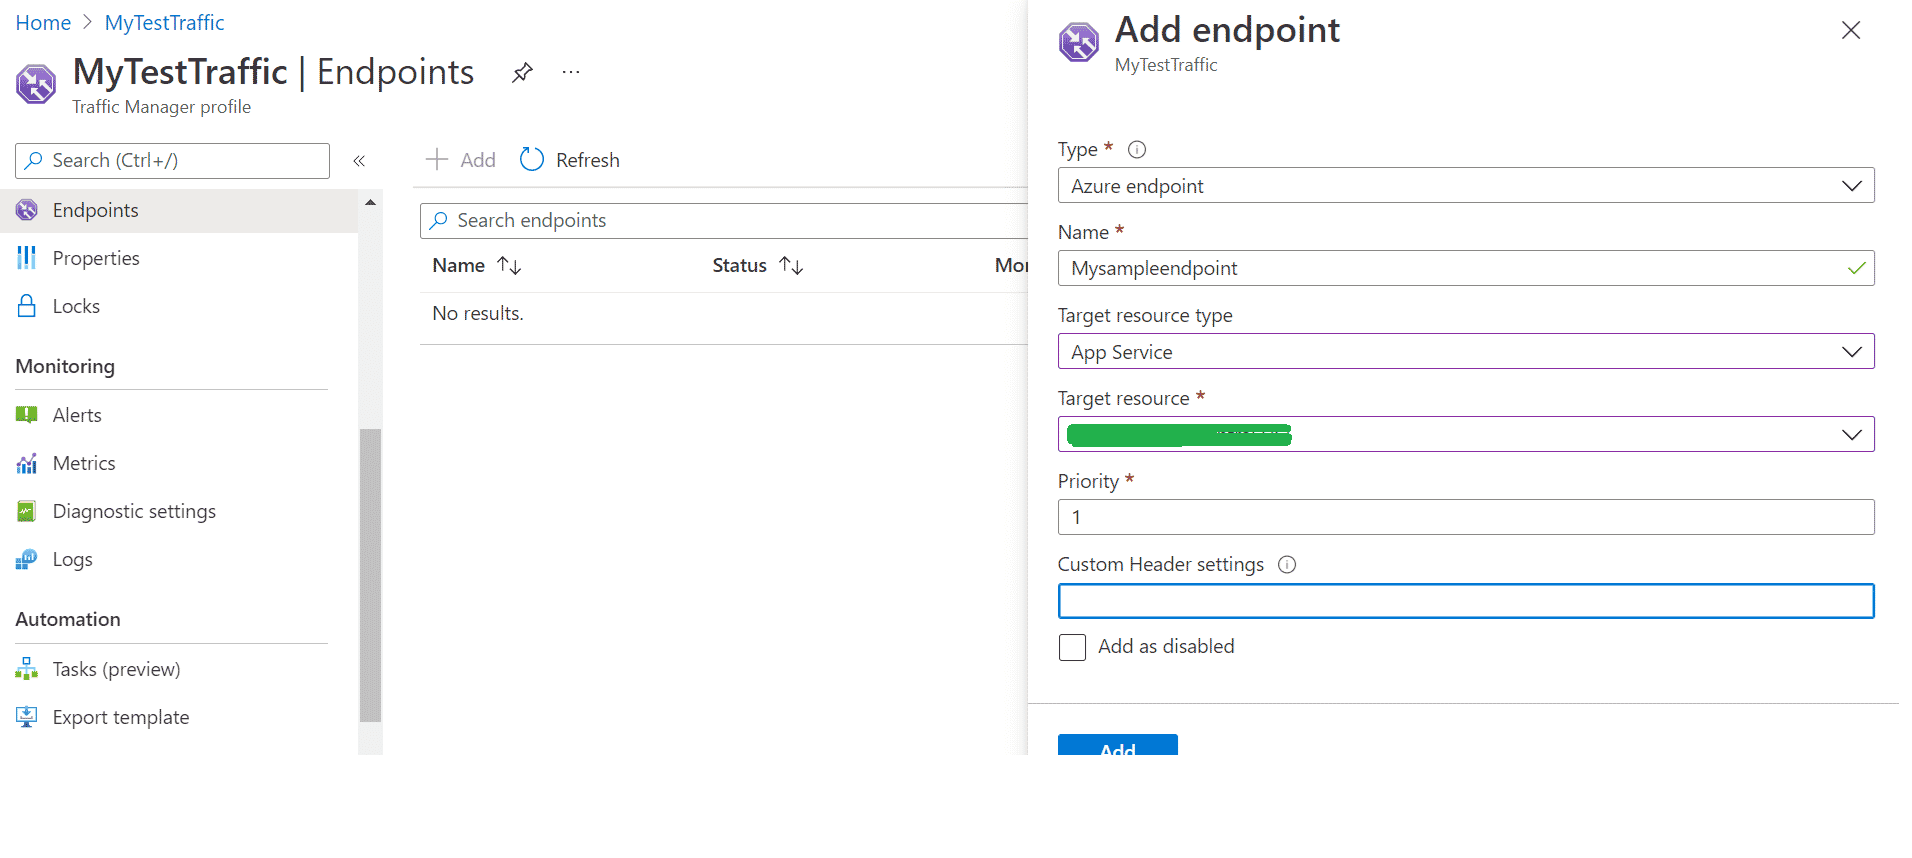
After this, click the “Endpoints” in the left panel and click “Add” button to add an endpoint to the Traffic Manager. See below for more:
Select the values for “Azure Endpoint”; the target resource type is “App Service”. Select target resource as depicted in the figure below. Make sure you define the priority.
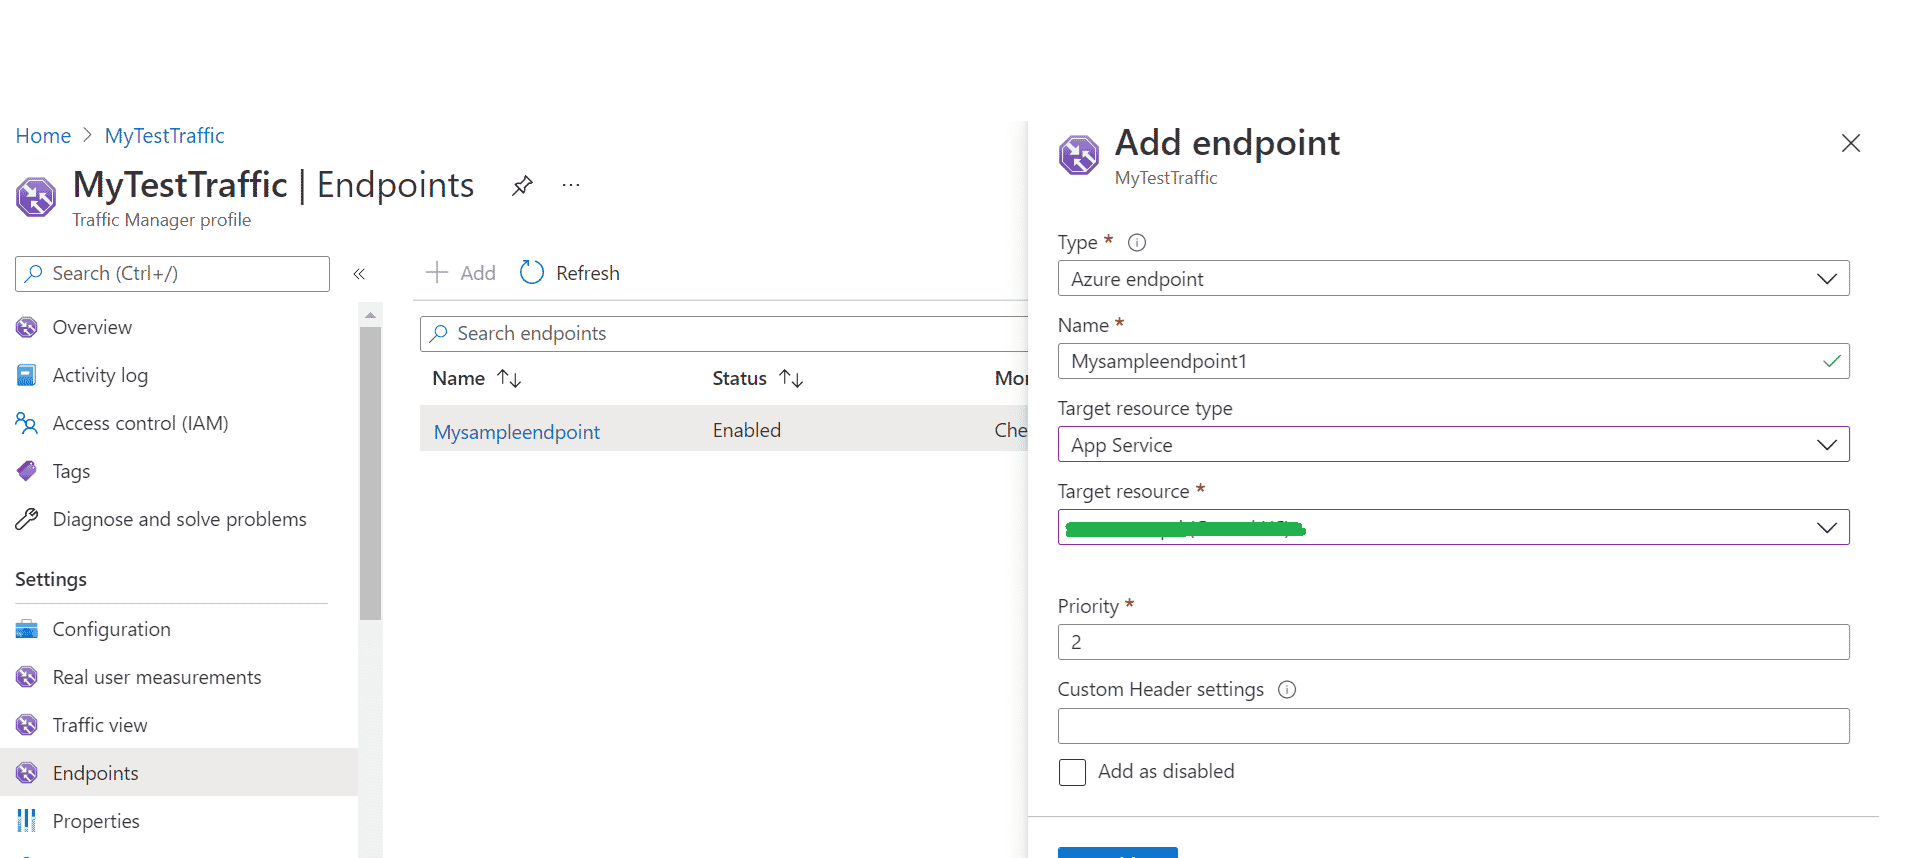
Finally, add one more endpoint – the same as above from a different region. Set the priority to 2. See below.
Now, hit the Traffic Manager URL: http:// MyTestTraffic.trafficmanager.net/. The Traffic Manager routing method is “Priority “; it picks the corresponding web page based on priority. See the following figure. This is how the Traffic Manager has returned the endpoints based on the routing method.
Developers can try different routing methods using the same steps as listed above and see how traffic manager works.
In real-time, users won’t hit the Traffic Manager URL directly. The Traffic Manager URL will be added in the DNS service.