Introduction
Software engineering is maybe the only engineering discipline were building an entirely new wing to a building is considered maintenance. Applications are extended and modified for years. Applications that once used the most modern technologies of the organization have become legacy themselves, yet in a lot of the cases we want them to be able to communicate with their new siblings.
If your organization used Microsoft Visual Basic in the past, you will probably be migrated to .Net by now. Visual Basic is build around Microsoft’s COM technology, a technology that a lot of developers refer to as “the DLL hell”. With .Net Microsoft has made a clean start. At the same time they made interoperability between .Net and COM possible, but that means that your COM interop assemblies will suffer of the same problems as your old components did in the past.
Enterprise applications build today are using n-tier architectures, where the communication between the backend and the fronted in Microsoft environments is mostly done using (WCF) web service technology. Therefore I will present you another choice for interoperability between COM based applications and the new .Net applications: the WCF Service Moniker.
The WCF Service Moniker
The Microsoft COM Service Moniker is automatically installed when you install the .Net framework. It can be used in 3 ways:
- Using a typed contract
- Using a MEX endpoint
- Using the WSDL of the web service
In this article I will show you how to consume a simple WCF service using the three possible ways. The COM client used for this demo will be developed in Excel VBA, but you could develop it in every programming language that supports COM components. I will also explain how you can easily debug such client applications.
The demo WCF service
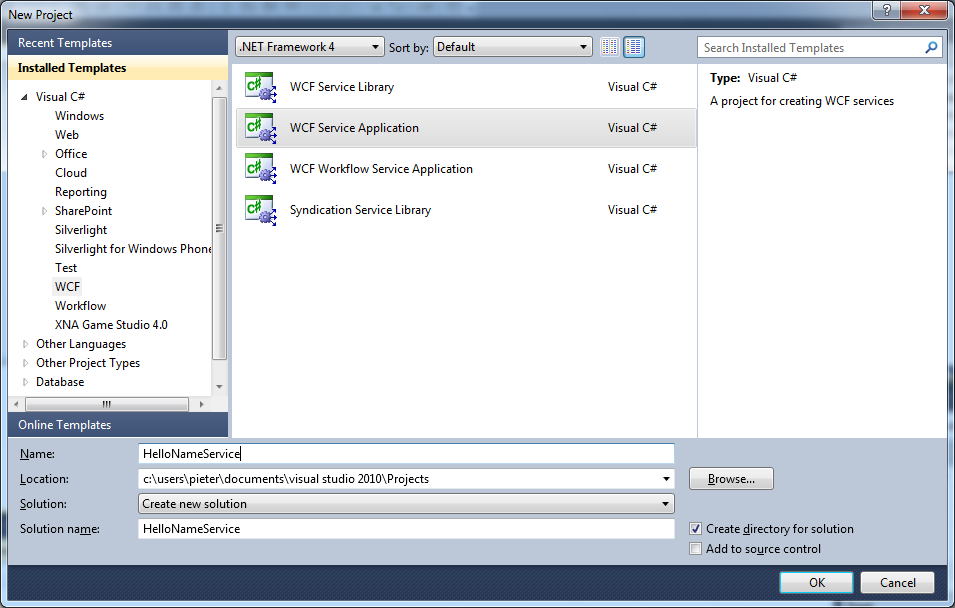
We will create simple WCF service that accepts a string as input and returns a strings as output. First we create a new “WCF Service Application”:
Inside the project: we create the following service contract:
[ServiceContract]

public interface IHelloName

{

    [OperationContract]

    string Hello(string name);

}
Although it is not mandatory anymore with WCF 4.0 to configure the end points, we need to do this for the tutorial because we will need a mex endpoint for the second example. This is not exposed by default in WCF. The configuration for our service is the following:
<system.serviceModel>

	<services>

		<service behaviorConfiguration=”serviceBehavior”

		         name=”HelloNameService.HelloName”>

			<endpoint binding=”basicHttpBinding”

				      bindingName=”BasicHttpBinding_IHelloName”

			          contract=”HelloNameService.IHelloName” />

			<endpoint address=”mex”

					  binding=”mexHttpBinding”

					  contract=”IMetadataExchange” />

		</service>

	</services>

	<behaviors>

		<serviceBehaviors>

			<behavior name=”serviceBehavior”>

			    <serviceMetadata httpGetEnabled=”true” />

				<serviceDebug includeExceptionDetailInFaults=”false” />

			</behavior>

	    </serviceBehaviors>

	</behaviors>

	<serviceHostingEnvironment multipleSiteBindingsEnabled=”true” />

</system.serviceModel>
This needs to be added into the web.config of the WCF service project.
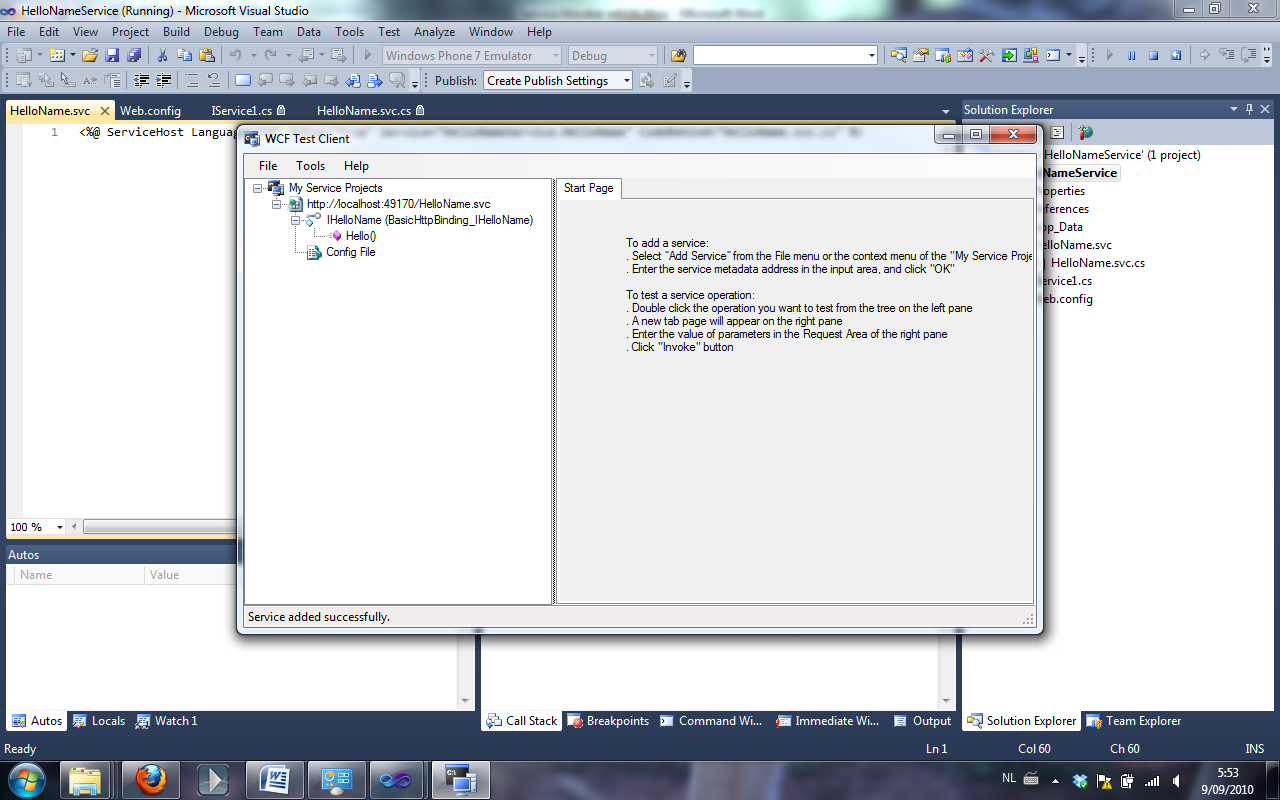
We are now done with our WCF service, so you can press F5 to start the WCF service.