

Introduction
With Windows
Phone Mango, Microsoft introduced over 500 new features, big and small. One
of the features it introduced was programmatic access to the alarms and
reminders feature on the Windows Phone platform.
Alarms and reminders are two types of scheduled
notifications, both of which reside in the Microsoft.Phone.Scheduler namespace.
The difference between an alarm and a reminder is that a
reminder includes all the features of the alarm but in addition, a user can
specify a URI. When a reminder pops up, a user can click it resulting in
launching of the application and the URI is passed to it.
Hands On
To see the behavior of alarms and reminders ourselves, let’s
create a demo application. Create a new Silverlight
for Windows phone application called WPAlarmDemo.
Now, add 4 buttons called “Add Alarm”, “Delete Alarm”, “Add
reminder” and “Delete Reminder”.
Your UI at this point should look like this:
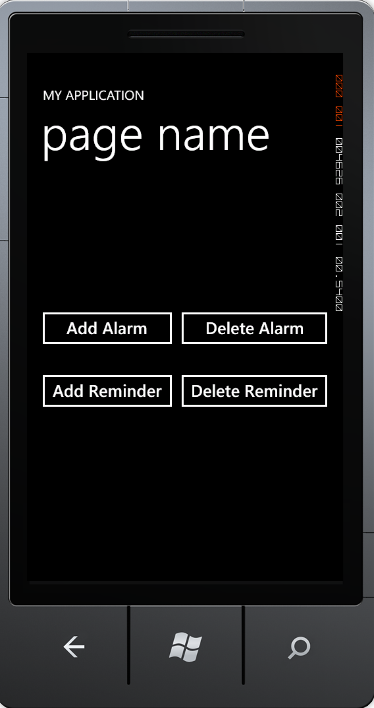
Figure 1: "My Application" UI
For simplicity’s sake, we will set our alarm and reminder to
10 seconds from the current system time. This will help speed up our testing.
On the code behind for MainPage.xaml page
(MainPage.xaml.cs), add two variables of type Alarm and Reminder called
“alarm” and “reminder”.
public partial class MainPage : PhoneApplicationPage
    {
        Alarm alarm;
        Reminder reminder;
        // Constructor
        public MainPage()
Double click the “Add Alarm” button and enter the following
code
private void buttonAddAlarm_Click(object sender, RoutedEventArgs e)
        {
            alarm = new Alarm("MyAlarm");
            alarm.BeginTime = DateTime.Now.AddSeconds(10);
            alarm.Content = "Alarm has fired";
            ScheduledActionService.Add(alarm);
        }
Now Add code to remove the alarm from the ScheduledAction
list.
private void buttonDeleteAlarm_Click(object sender, RoutedEventArgs e)
        {
            ScheduledActionService.Remove("MyAlarm");
        }
Now, add similar code for the event handler for the click
event on “Add Reminder” button.
private void buttonAddReminder_Click(object sender, RoutedEventArgs e)
        {
            reminder = new Reminder("MyReminder");
            reminder.BeginTime = DateTime.Now.AddSeconds(10);
            reminder.Content = "Reminder has fired";
            reminder.Title = "Reminder Demo";
            ScheduledActionService.Add(reminder);
        }
Finally, add code to remove the reminder from the
ScheduledAction list.
private void buttonDeleteReminder_Click(object sender, RoutedEventArgs e)
        {
            ScheduledActionService.Remove("MyReminder");
        }
You are now ready to test your sample. Compile and execute
your sample. If you are having issues compiling the code, you can get the
sample code for this exercise below.
When we execute the application, click on the “Add Alarm”
button. Wait for 10 seconds; you will see an alarm notification on the
application page.
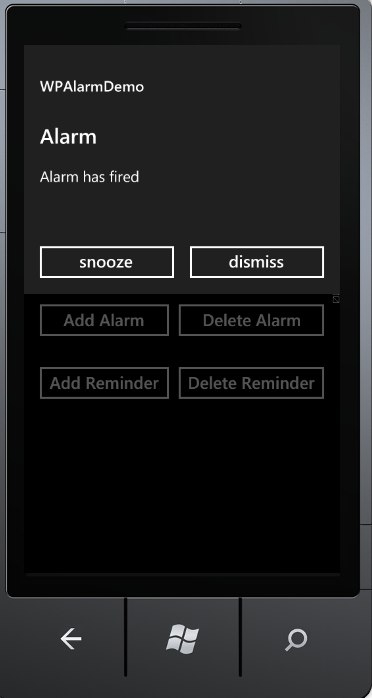
Figure 2: Alarm notification
We can dismiss the alarm by clicking the “dismiss” button.
Now, click the “Add Reminder” button. After 10 seconds, we
see a reminder show up.

Figure 3: Reminder Demo
In this demo application, I have not specified an URI but
you might want to consider using that to get the full leverage from the
reminder feature.
Summary
In this article, we learned how to create alarms and
reminders in a Windows Phone application.