

Introduction
One of the biggest changes in Windows Phone 8.1 was the introduction of the Windows Phone Action Center. The Windows Phone Action Center enables users to quickly access certain phone settings as well their toast notifications.
Applications can interact with the Windows Phone Action Center in a variety of ways, such as:
- Send a local toast notification with a popup (that gets added to the Action Center).
- Send a toast notification without a popup to the Action Center.
- Remove a notification from the Action Center.
- Replace a notification from the Action Center.
To work with the Windows Phone Action center, you need Visual Studio 2013 with update 2 installed running on Windows 8.1.
Integrate Your Application with the Windows Phone Notification Center
To interact with the Windows Phone Action Center, a declaration needs to be made in the application manifest to support toast notifications.
To support working with the Windows Phone Action Center, developers need to use the ToastNotificationManager class in the Windows.UI.Notifications namespace to create an instance of the ToastNotifier class. The ToastNotifier class is used to query the Setting property to check whether notification settings are enabled.
To compose a toast, you can create an instance of the ToastNotification class. Creating a ToastNotification requires using an XML Document object that contains template content from a toast template. We will learn more in the Hands On activity.
Hands On
Create a new project in Visual Studio 2013 using the “Blank App” template available under Visual C# -> Store Apps -> Windows Phone Apps. Name the project WPActionCenterDemo.
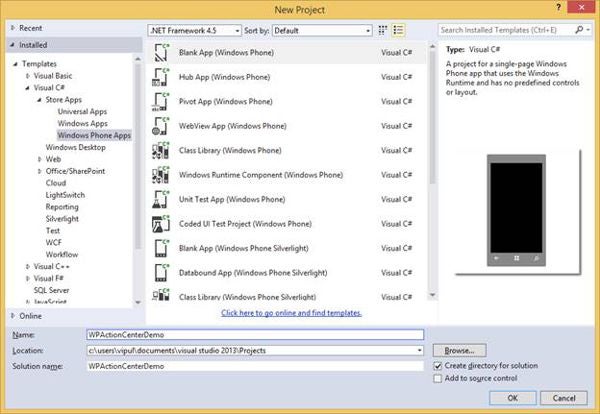
Figure 1: Naming the project WPActionCenterDemo
Right-click the Project Name and select Properties.
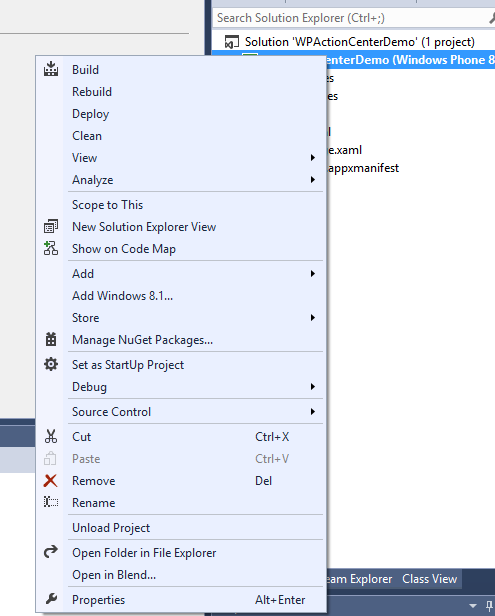
Figure 2: Selecting Properties
Click the Package Manifest button to open the application manifest.
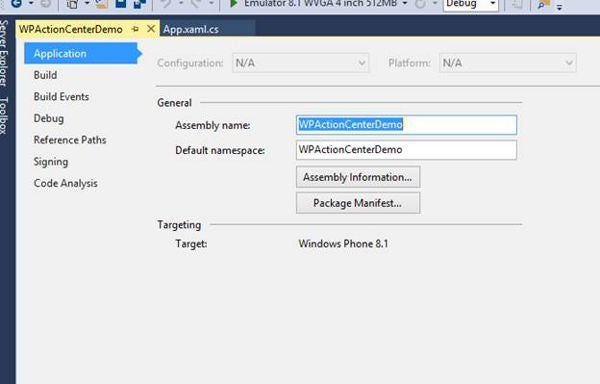
Figure 3: Opening the application manifest
The manifest will look as shown in Figure 4.
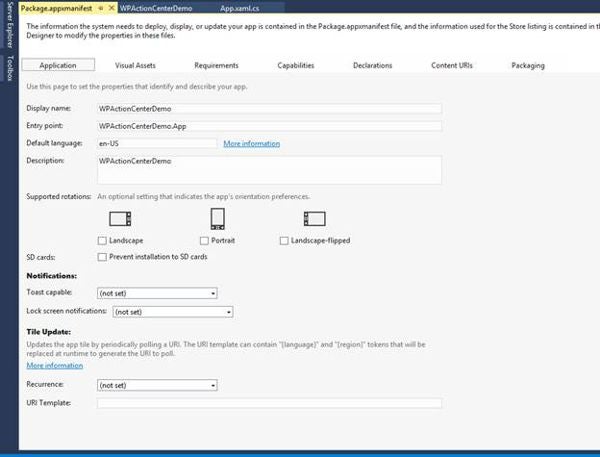
Figure 4: The manifest main page
Cnange the “Toast Capable” drop-down from “not set” to “Yes” and save the manifest file.
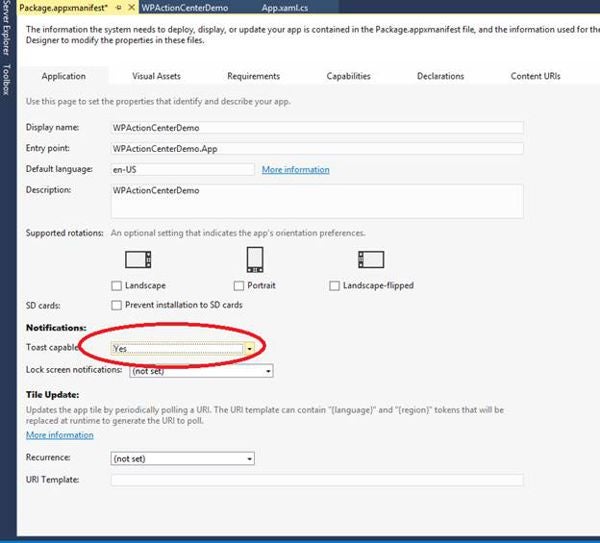
Figure 5: Making the page toast capable
Next, open MainPage.xaml and add a button and a checkbox to the XAML page. When we click the button, we will send a toast notification to the Windows Phone Action Center. Additionally, we will add a checkbox to suppress the toast notification and silently submit to the Windows Phone Action Center.
Your XAML will look as shown in the following code:
<Page
   x_Class="WPActionCenterDemo.MainPage"

   xmlns_x="http://schemas.microsoft.com/winfx/2006/xaml"
   xmlns_local="using:WPActionCenterDemo"
   xmlns_d="http://schemas.microsoft.com/expression/blend/2008"
   xmlns_mc="http://schemas.openxmlformats.org/markup-compatibility/2006"
   mc_Ignorable="d"
   Background="{ThemeResource ApplicationPageBackgroundThemeBrush}">

   <Grid>
      <Button x_Name="buttonSendToast" Content="Send Toast"
         HorizontalAlignment="Left" Margin="73,115,0,0"
         VerticalAlignment="Top" />
      <CheckBox x_Name="checkBoxDisablePopUp" Content="Disable CheckBox"
         HorizontalAlignment="Left" Margin="203,115,0,0"
         VerticalAlignment="Top"/>

   </Grid>
</Page>
We need to include a few namespaces into the project.
using System;
using System.Collections.Generic;
using System.Diagnostics;
using System.IO;
using System.Linq;
using System.Runtime.InteropServices.WindowsRuntime;
using Windows.Data.Xml.Dom;
using Windows.Foundation;
using Windows.Foundation.Collections;
using Windows.UI.Notifications;
using Windows.UI.Xaml;
using Windows.UI.Xaml.Controls;
using Windows.UI.Xaml.Controls.Primitives;
using Windows.UI.Xaml.Data;
using Windows.UI.Xaml.Input;
using Windows.UI.Xaml.Media;
using Windows.UI.Xaml.Navigation;
Next, we will add the event handler for the click event on the button. In this function, we will determine whether the checkbox is checked and act accordingly.
   private void buttonSendToast_Click(object sender, RoutedEventArgs e)
   {
      var notifier = ToastNotificationManager.CreateToastNotifier();

      if (notifier.Setting != NotificationSetting.Enabled)
      {
         Debugger.Break();
      }
      ToastTemplateType toastTemplate = ToastTemplateType.ToastText02;
      XmlDocument toastXml =
         ToastNotificationManager.GetTemplateContent(toastTemplate);
      XmlNodeList toastTextElements = toastXml.GetElementsByTagName("text");
      toastTextElements[0].AppendChild(toastXml.CreateTextNode("Hello"));
      toastTextElements[1].AppendChild(toastXml.CreateTextNode("This is a toast"));
      IXmlNode toastNode = toastXml.SelectSingleNode("/toast");
      ((XmlElement)toastNode).SetAttribute("duration", "long");
      ToastNotification toast = new ToastNotification(toastXml);

      toast.ExpirationTime = DateTimeOffset.UtcNow.AddSeconds(3600);

      if(checkBoxDisablePopUp.IsChecked == true)
      {
         toast.SuppressPopup = true;
      }
      else
      {
         toast.SuppressPopup = false;
      }
      ToastNotificationManager.CreateToastNotifier().Show(toast);
Our application is now ready. When we run our application, you can see that the toast notification appears when the checkbox is not checked and the button is clicked.
Summary
In this article, we learned how to integrate a Windows Phone 8.1 application with the Windows Phone Action Center. If you want to download the sample code, it is included with this article.
About the Author
Vipul Patel is a technology geek based in Seattle. He can be reached at vipul.patel@hotmail.com . You can visit his LinkedIn profile at https://www.linkedin.com/pub/vipul-patel/6/675/508.