

Microsoft has provided the XNA Game Studio for developing games and other programs targeting not only the PC, but also the Xbox 360 and Zune devices. The newest version of XNA Game Studio also targets the Window Phone Series. By installing XNA Game Studio on top of Microsoft Visual Studio 2008, you end up not only with the tools you need, but also the XNA Framework containing the routines you need to start building games.
In this article, I’ll talk briefly about installing XNA Game Studio and compiling the default project. In a couple of future articles, I’ll cover a few basics to get you started in creating your first XNA applications.
If you don’t already have Visual Studio 2008, don’t fret. XNA Game Studio will work with the Express Edition of Visual C# that you can download from the Microsoft site at no charge.
Download Visual C# Express Edition here.
Once you have Visual C# Express edition, or a copy of Microsoft Visual Studio, you can then download and install XNA Game Studio. This product is freely available for download:
Download XNA Game Studio 3.1 here.
Download XNA Game Studio 4.0 (Windows Phone developer CTP) here.
While 4.0 Is now available as an early release, 3.1 is the current, fully released product. As such, I’ll recommend downloading it unless you are specifically targeting the Windows Phone. Even if you want to target the Windows Phone Series, you can use what you learn with XNA Game Studio 3.1 and apply it to XNA Game Studio 4.0.
Installing XNA Game Studio 3.1
Once you’ve downloaded the XNA Game Studio 3.1, you can run the program to start the installation Wizard as show in Figure 1.
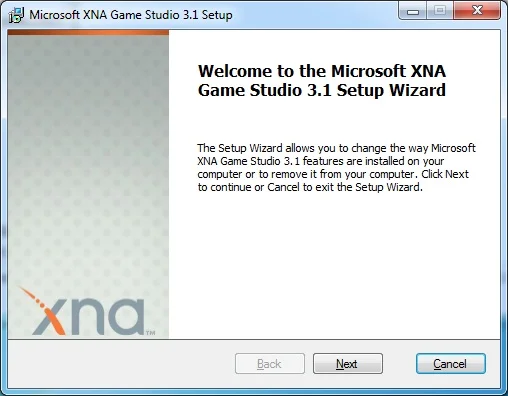
Figure 1. Installing XNA
Click Next to begin the process. You’ll then need to agree to the licensing agreement. Once you have you’ll then need to address some settings related to your computer’s firewall settings so as to be able to communicate with either an Xbox 360 or to allow communication with network games built on the XNA Framework. If you are planning to only build for the Zune or for a local PC, then you shouldn’t need to enable these rules, otherwise, enable what is appropriate.
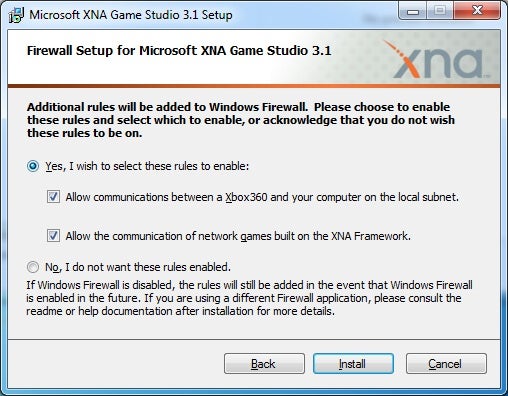
Figure 2. Selecting firewall settings
That’s it! XNA should start installing.
Once the installation is completed, you’ll be prompted to go the XNA Creators Club online. In order to be able to use your games on your Xbox 360, you’ll need to join the XNA Creator’s Club. With a membership, you’ll be able to create, share, review, and work with Xbox 360 games. It is important to know that you don’t need a membership in the XNA Creators Club in order to create PC or Zune games. You will, however, need it if you plan to create games for the Xbox 360. Of course, you can choose to wait to join until you’ve learned a little more on the XNA Framework. After all, the club is going to require you to spend some money.
Using XNA Game Studio
Once you’ve installed XNA Game Studio, you’ll find that XNA Game Studio 3.1 has been added to your Windows Start Menu. You can select Visual Studio from the menu option in order to start Visual Studio with the XNA Game Studio available. Of course, when you start Visual Studio, it will look like what you have likely seen before.
With Visual Studio (or Visual C#) started, you can start your first game project by selecting File –>New –> Project. This will display the New Projects dialog. If XNA Game Studio 3.1 isn’t the default selection, then select it from the Project Types. This should present you with Templates similar to what are shown in Figure 3.
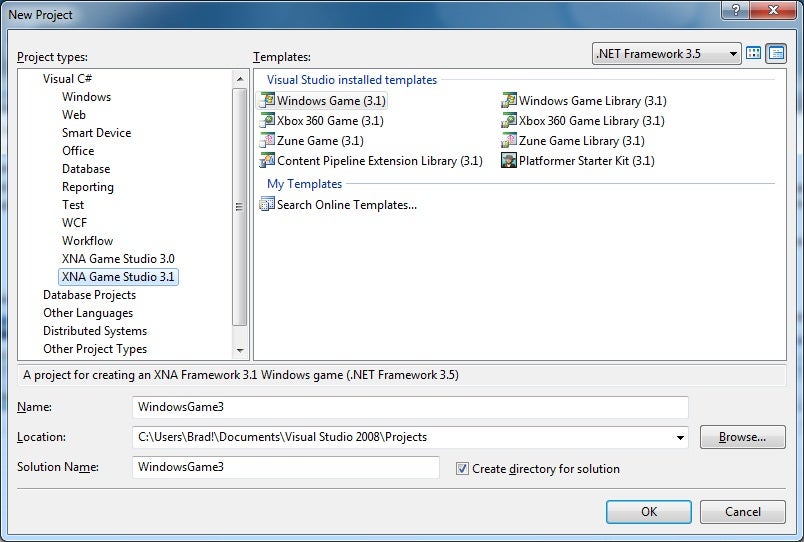
Figure 3. Selecting an XNA Project Type in Microsoft Visual Studio
As you can see in Figure 3, there are several types of projects you can create. If you are running XNA Game Studio 4.0, you’ll also have options for targeting the Windows Phone. Go ahead and select Windows Game (3.1). This will setup the project for a Windows game. You should make sure you select the right template.
In addition to selecting the right template, you’ll want to give your project a name. In Figure 3, the defaulted name of WindowsGame3 is used. I’ll rename the project to PictureMover and choose to create the solution in its own directory. Clicking Ok will create the project and open up the editor with the Game1.cs file displayed. At this point, you could compile and run the program. You’d end up with a game program that does nothing other than setting the background to CornflowerBlue.
Of course, the key is to create a program that does something. For a game, you’ll want to follow standard project practices. Additionally, with a game project you’ll want to make do a lot of your logic in the Update method and then let the Draw method update your display.
There are two lines of code in the default project that are worth pointing out:
this.Exit();
If you look at this line of code, you’ll see that it is referencing a game pad. If you have a wired Xbox controller, you can plug it into a USB connection on your PC and use it. The above line of code will then exit the game if the back button is pressed on the controller. In my next article, I’ll show you how to check for other buttons on an Xbox controller.