

In the previous articles (part 1 and part 2) we’ve seen how to create a simple WP7 application and how to use the application toolbar.
But any serious application will probably require more than one page. This article is focused on navigating and passing data between pages.
Creating a Simple Application
Let’s start by creating a simple Silverlight application (if you followed the first articles in the series, this should be already familiar to you). This application will have a simple main page with an empty grid as the content panel.
The only thing we’ll do is change the background color for the grid. However, we’ll select the color in a second page that will display several radio buttons with the available colors. The application will have to pass the current color from the main page to the second page, and then back.
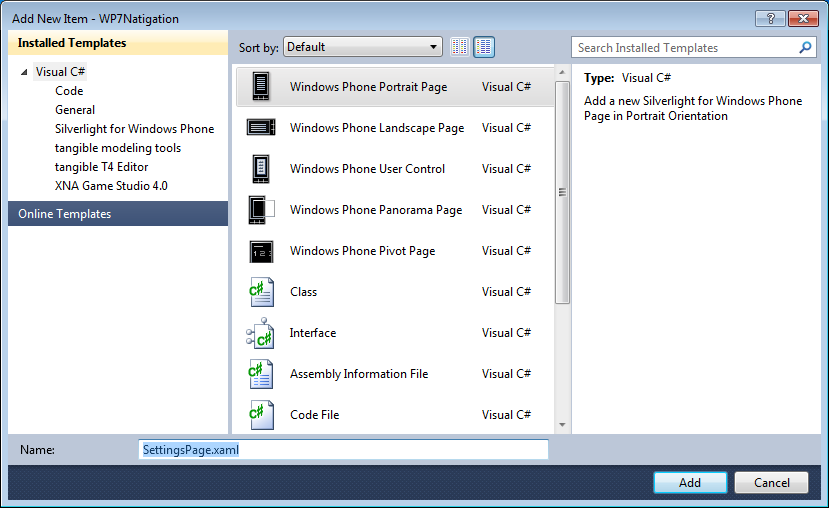
The image below shows how to add a new portrait page. We’ll call this page, SettingsPage. You’ll notice that the page the wizard adds is identical with the main page initially created with the project.
The main page will have an app bar with a single button, called Settings. When pressing this button the second page will be displayed. The button will use the appbar.feature.settings.rest.png image available with the WP7 Developers Tools.
After adding it to the Images folder in your project, remember to set the Build Action to Content, otherwise it will not be packaged and deployed to the phone. You can read more about this in the previous article of the series. This is how the XAML code for the app bar on the main page looks like:
<phone:PhoneApplicationPage.ApplicationBar>
    <shell:ApplicationBar IsVisible="True" IsMenuEnabled="True">
        <shell:ApplicationBarIconButton IconUri="/Images/appbar.feature.settings.rest.png"
                                        Text="color"
                                        x_Name="btnSettings"
                                        Click="btnSettings_Click"/>
    </shell:ApplicationBar>
</phone:PhoneApplicationPage.ApplicationBar>
The button has a handler for the Clicked event, and in the handler we’ll navigate to the settings page. We’ll get into the details in the next paragraph.
private void btnSettings_Click(object sender, EventArgs e)
{
   this.NavigationService.Navigate(new Uri("/SettingsPage.xaml", UriKind.Relative));
}
The settings page will have a group of radio buttons representing available colors for the main’s page grid background. The content panel in this page will look like this (for the moment):
<!--ContentPanel - place additional content here-->
<Grid x_Name="ContentPanel" Grid.Row="1" Margin="12,0,12,0">
    <StackPanel>
        <RadioButton Content="Black" />
        <RadioButton Content="White" />
        <RadioButton Content="Red" />
        <RadioButton Content="Yellow" />
        <RadioButton Content="Blue" />
        <RadioButton Content="Green" />
    </StackPanel>
</Grid>
This page will have its own app bar, again with a single button, which we’ll call Select. When pressing this button the application will return to the main page and change the grid background color. The XAML code for this app bar is:
<phone:PhoneApplicationPage.ApplicationBar>
    <shell:ApplicationBar IsVisible="True" IsMenuEnabled="True">
        <shell:ApplicationBarIconButton IconUri="/Images/appbar.check.rest.png"
                                        Text="select"
                                        x_Name="btnSelect"
                                        Click="btnSelect_Click" />
    </shell:ApplicationBar>
</phone:PhoneApplicationPage.ApplicationBar>
To navigate back we have to handle the Clicked event and use the navigation service to navigate back.
private void btnSelect_Click(object sender, EventArgs e)
{
    this.NavigationService.GoBack();
}
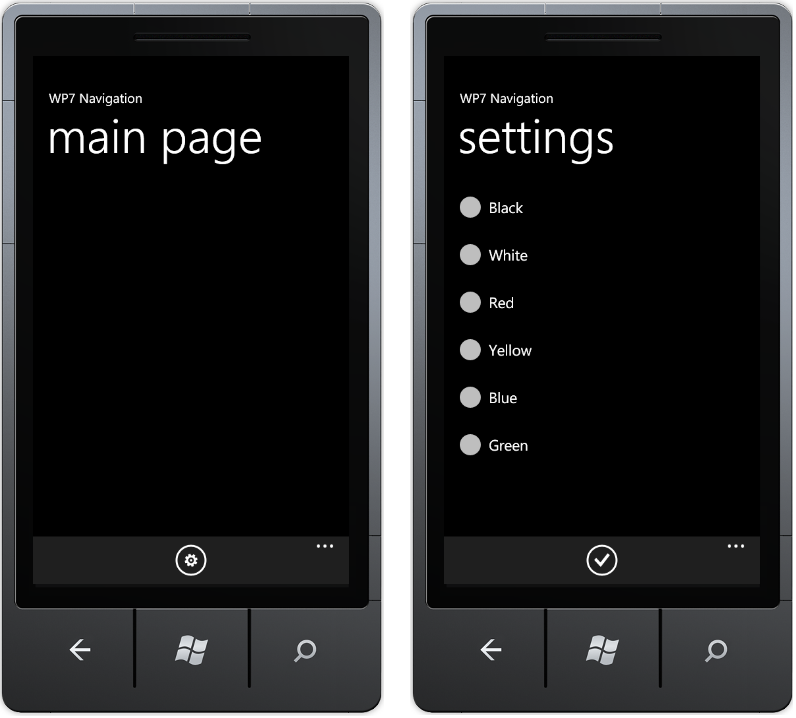
This is how the two pages of the application will look at this point.
Navigating Through the Page Stack
In the previous paragraph I’ve used a property of the Page class (from which PhoneApplicationPage is derived) called NavigationService. This is an object of the type NavigationService (yes, same name) that provides several methods for navigating through the pages of the application:
- Navigate: Navigates to the content specified by the uniform resource identifier.
- GoBack: Navigates to the most recent entry in the back navigation history.
- GoForward: Navigates to the most recent entry in the forward navigation history.
- StopLoading: Stops asynchronous navigations that have not yet been processed.
Method Navigate() takes the Uri of a XAML page and navigates to it. The application has a stack of pages. Initially when the application starts, the stack contains the main page.
When you call Navigate() a new instance of the specified page is created and placed on top of the stack. Methods GoBack() and GoForward() allows you to navigate through the existing pages on the stack. In the main page, when we want to select a new color, we create a new instance of the settings page.
But from the settings page, when we want to return to the main page, we don’t call Navigate, because this would create a new instance of the main page and place it on the stack. We call GoBack and return to the already existing instance of the main page.