

Docker containers can be used on many platforms including Windows, Linux, Ubuntu, and macOS. Containerizing a web application is the process of converting a piece of software to run within a Docker container. In this programming tutorial, we will build a simple ASP.Net Core web application, containerize it with Docker, and run it on a local host.
Read: Best IDEs for .NET Developers
How to Create an ASP.Net Core Web Application
Let’s start by using Visual Studio to create a new web service application using the .NET Core framework. Choose the Create a new project option from Visual Studio:
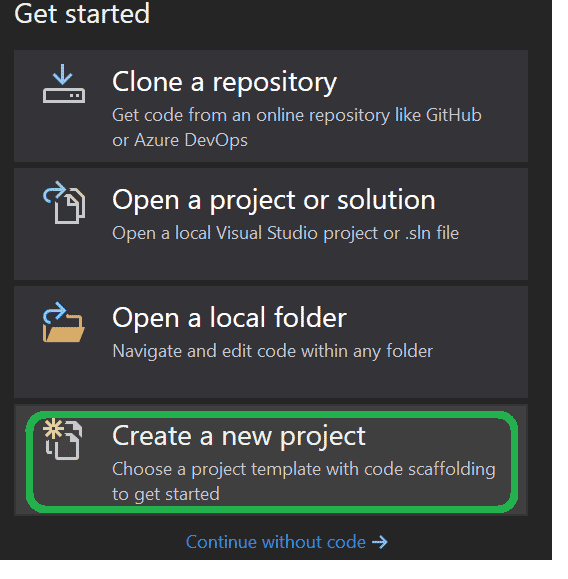
Visual Studio Create New Project
Alternatively, you can open Visual Studio, navigate to File > New and select Project > ASP .NET Core Web Application and click Next:

ASP.NET Core Project
Enter the Solution Name (for example, Sample Docker Web Application) and the Location in your local directory to save the file. Then, click OK:
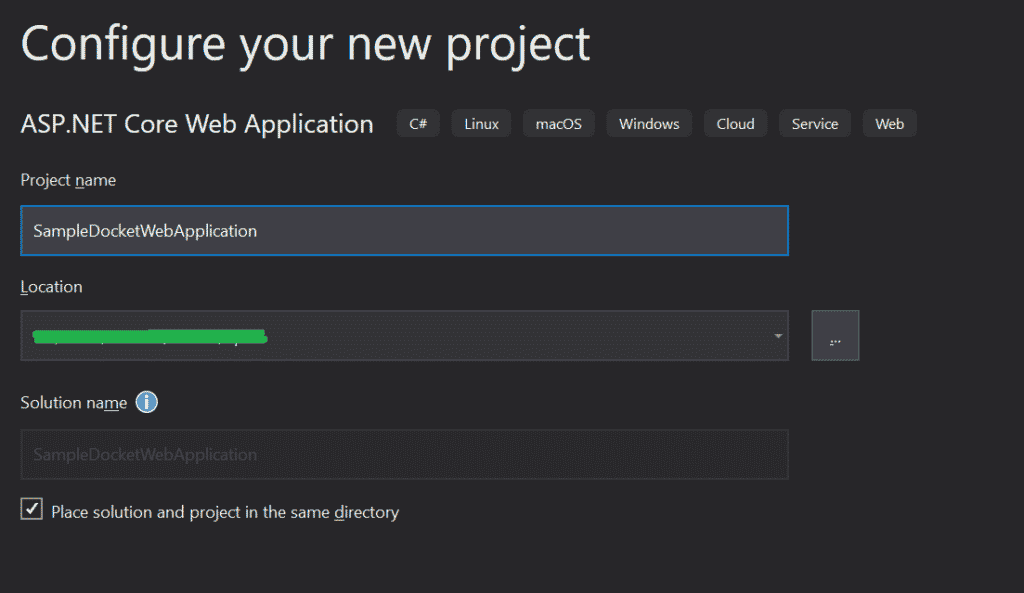
Sample Docker Web Project
In the next screen, select API Project and check the ‘Enable Docker Support checkbox:
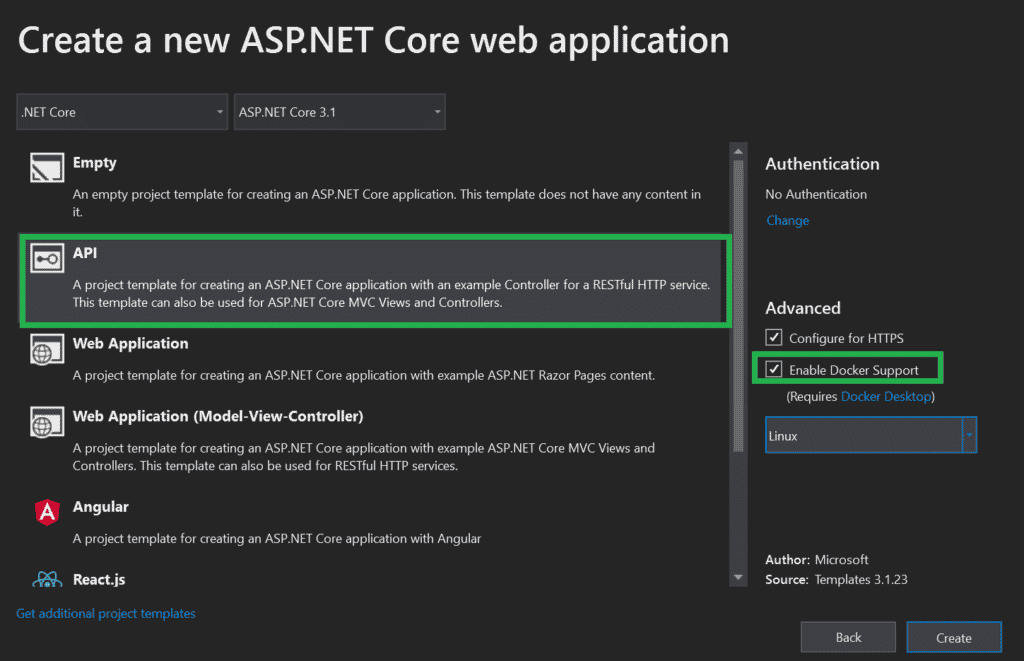
API Project with Docker Support
Chose Yes when you are prompted to Install Docker Desktop:
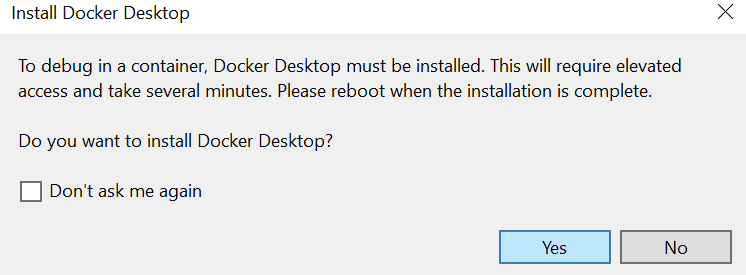
Prompt for Docker Desktop Installation
After this, open the default Dockerfile created by Visual Studio, as shown in the directory listing below:
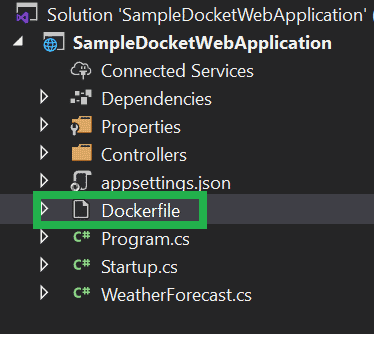
Docker File Created by Visual Studio
Developers can also create their own Dockerfile by following each step to create a Docker image with your application. Refer to the following code snippet of the Dockerfile created by Visual Studio for an example of how to code your own Dockerfile:
# See https://aka.ms/containerfastmode to understand how Visual Studio uses this Dockerfile to build your images for faster debugging.

FROM mcr.microsoft.com/dotnet/core/aspnet:3.1-buster-slim AS base
WORKDIR /app
EXPOSE 80
EXPOSE 443

FROM mcr.microsoft.com/dotnet/core/sdk:3.1-buster AS build
WORKDIR /src
COPY ["SampleDocketWebApplication.csproj", ""]
RUN dotnet restore "./SampleDocketWebApplication.csproj"
COPY . .
WORKDIR "/src/."
RUN dotnet build "SampleDocketWebApplication.csproj" -c Release -o /app/build

FROM build AS publish
RUN dotnet publish "SampleDocketWebApplication.csproj" -c Release -o /app/publish

FROM base AS final
WORKDIR /app
COPY --from=publish /app/publish .
ENTRYPOINT ["dotnet", "SampleDocketWebApplication.dll"]
The above Dockerfile takes the predefined images from Microsoft and builds a new image on top of that using the application source. The last step of the Dockerfile is an entry point that executes the given .dll in order to start services inside of the container.
Read: Create a Container Registry in Azure
Building Docker Images and Running Them in a Container
In this step, we will build a new image using Docker and run it in a container. For that, we will need to open Power Shell and set the current directory where the Dockerfile is located. Execute the following command to build a new image, which will depend on the .NET Core images previously mentioned.
docker build -t myImagename:tagname .
Once the image is created, check all of the images present in your local machine by executing the following Docker images commandL
docker images
Once the image is created successfully, the next step is to create a container from this image:
docker run -p 43381:8080 SampleDockerWebApplication:dev
The above “Docker run” creates a new container from a given image and the -p defined port connectivity from the container to the host machine. Port 8080 was exposed to the image mapped to 43381 on the host machine.
Next, we need to check the running container using the command below:
docker ps
Finally, once the container starts running, you can check the response in JSON format by using this URL: https://localhost:44382/SampleDockerWebApplication, provided you named your sample app SampleDockerWebApplication. If you named it something else, simply replace that portion with the name of your Docker web app.
Conclusion to Creating .NET Apps for Docker Deployment
We hope this article helped you learn the basics of how to deploy a .NET Core application using a Docker container. Stay tuned for more containerization programming tutorials!
Read more cloud development and Azure programming tutorials.