

Introduction
This is a wizard for use in the C# environment.
Background
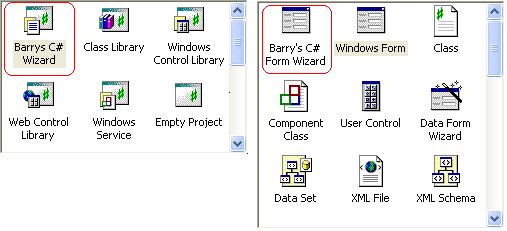
A lot of time is spent in developing the simple but time-consuming user interface in Visual Studio .NET in the C# environment in the initial stages because Microsoft Corporation has provided a plain and simple form in the Wizard that is bundled with Visual Studio. You got to add controls such as a Toolbar, StatusBar, and Menu that are commonly used in most applications. To reduce the burden of creating and adding the usual controls, I thought of creating a wizard that would acomplish all these tasks. I managed to complete the wizard and have been using it for quite some time now, so I just decided to give it away to others who may want to use it. This is especially useful for beginners who may find it difficult to create those Windows Explorer-like interfaces. And, because the Add Form option in Visual Studio .NET has a similar plain interface, I decided to add a Form Designing wizard using this technique.
Important Note
This project was developed and tested under Visual Stucio .NET (Enterprise Edition) and it installs well in versions 1.0 and 1.1; users of the “Standard Edition” may not be able to install thise wizard.
Features
With this wizard, you can create the following types of user interfaces:
- Plain Form
- Windows Explorer-like interface (vertical)
- Windows Explorer-like interface (horizontal)
- Windows Explorer-like interface (3-Pane)
- Outlook Express-like interface
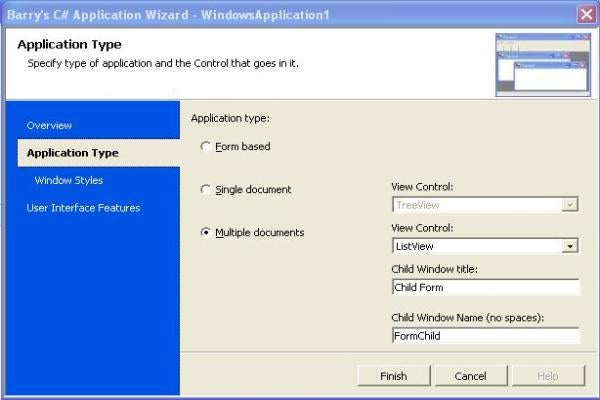
- Single Docuemnt interface
- Multi Document interface
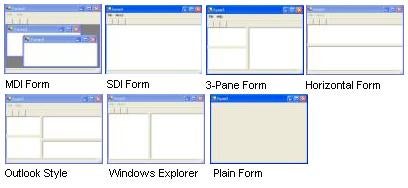
Following are images of the wizard at work:

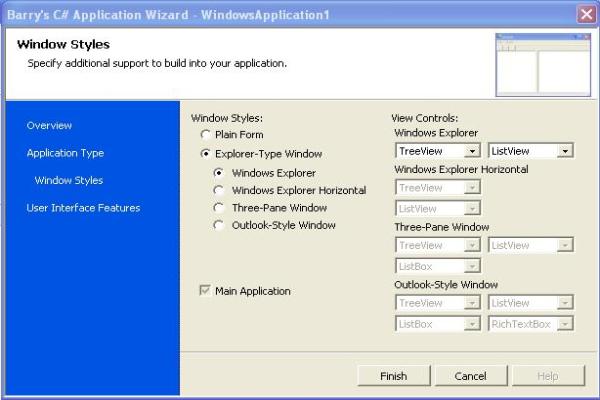
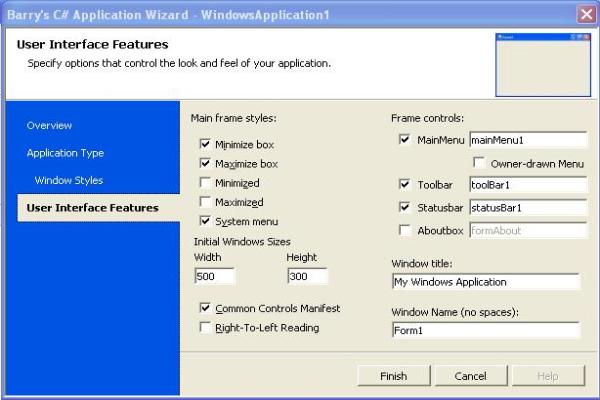
The above interfaces optionally can have:
- ToolBar
- StatusBar
- MainMenu
- About Box
In the above interfaces, you can select the Control for each pane from a pull-down list and also can set the System Menu, Minimize, and Maximize options. You also can set the Maximized or Minimized state of the Window; the Initial size of the Window also can be set.
The menu can be the plain menu that C# provides or it can have a Owner-Drawn menu option. Read the “Owner-Drawn Menus” section below.
Owner-Drawn Menus
If you select the Owner-Drawn menu option, the menu will be drawn using internal code and look a bit different from the usual C# menus. If you created the application by selecting the “Owner-Drawn menus” option and at a later stage you want to add new menu items to the menu, do the following to give the newly added menus Owner-Drawn status.
For each of the newly added menu items, set the OwnerDrawn property to true; make the Checked and RadioCheck options false (menu items will not be visible if these are set true either at design-time or through code). If you are adding a Seperator, do not make its OwnerDrawn property true (I have not found a way out for this). And, in the Form1_OnLoad(..) function, add the following lines of code:
this.menuItemFile.DrawItem += new
   System.Windows.Forms.DrawItemEventHandler(
   this.menuItem_DrawItem);
this.menuItemFile.MeasureItem +=
   new System.Windows.Forms.MeasureItemEventHandler(
   this.menuItem_MeasureItem);
Remember to change the name “menuItemFile” above to the name of your MenuItem.
If you feel that the owner-drawn option is okay and want to add this to any Context Menus that you plan to add to the application, you can use the Owner-Drawn state by following the guidelines for normal menu items above.
How to Install
Download the wizard installer at the top and click the Install button. If all goes well, you can start Visual Studio and find the icons in the New Project Wizard and Add Form options. This was developed, tested, and used on Visual Studio Exterprise edition.
History
New Article Release dt 2 – April – 2004.