

Introduction
Microsoft Visual Studio Team Services (VSTS) is a Cloud-based platform that provides an integrated, collaborative environment that supports Git, Team Foundation Version Control (TFVC), Agile Tools, Continuous Integration, Tools for Java, Reporting, Release Management, Package Management, DevOps, Testing Tools, and many more. Because VSTS services are available on the Cloud, that easily can be used by teams that are distributed across different geographical locations.
VSTS allows developers to get started quickly. Its configuration-based settings help developers make it easier to build, plan, and deploy your applications on a variety of platforms. You don’t have to worry about creating the infrastructure, supporting the tool, and so forth. Just focus on developing your applications. VSTS helps you collaborate easily, and it helps your team keep track of new features and fix defects easily.
What Is a Team Project?
A VSTS team project is a repository for your software code. It also configures the process for tracking your development work. A team project can work like a container for a number of software projects which you can manage from planning to deployment. Apart of code and process, it also defines a data storage strategy in which you manage your software projects. During development, you connect to a VSTS team project from on-premises Visual Studio. In a VSTS team collection, one or more team projects may be defined. At least one team project must be created to use the Cloud-based system.
A Team Project Using Visual Studio
In this article, I will explain to you, step-by-step, how to create a new VSTS team project.
Step 1
To create a VSTS account, open the URL https://www.visualstudio.com and then click the “Get started for free” button under Visual Studio Team Services, as shown in Figure 1.

Figure 1: Visual Studio Web site
You need Microsoft credentials to create an account on VSTS, as you can see in Figure 2. If you do not have Microsoft credentials, you can create one Hotmail or Outlook account. Members with an MSDN Subscription get added benefits.
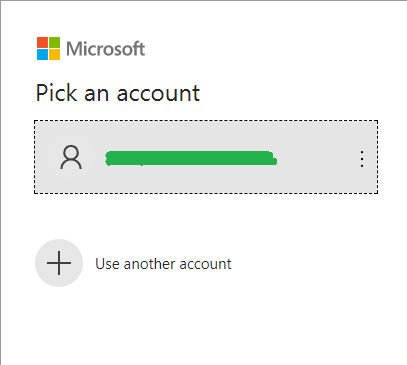
Figure 2: VSTS Login
As Figure 2 depicts, I have used my existing Hotmail account to sign up for a Visual Studio Team Service account. Then, you need to enter a password (see Figure 3).
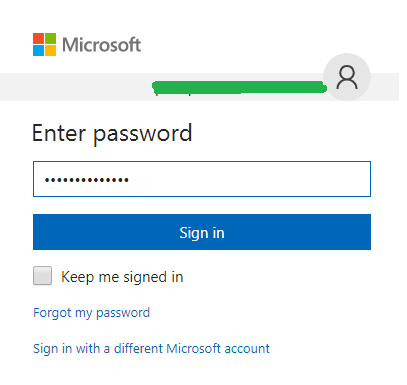
Figure 3: VSTS Login Enter Password
Step 2
Once successfully signed in, you are taken to the page https://****.visualstudio.com/_projects, or you can Navigate to https://my.visualstudio.com/. Click Get Started in “Visual Studio Team Services” -> Click “New Project.” It will create a new, empty project. You have to name your project first and add a short description of the project. Next, select the version control repository of your sample project. For my sample project, I have selected Team Foundation Version Control (TFVC). Also, select the process you want to adopt for that project execution—Agile, Scrum, or CMMI—and click Create, as shown in Figure 4.
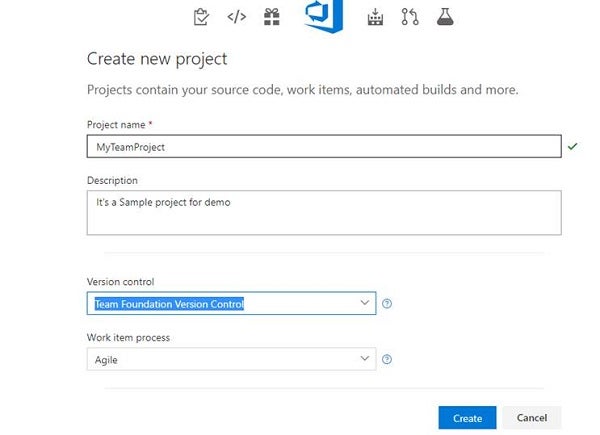
Figure 4: VSTS Project Creation
Step 3
Next, we have to set up the build process to fetch a set of files that you want to compile together from the source control. The VSTS build process is automated so that it can be re-created any number of times without additional efforts and errors. Click the “Set up Build” button to open the build setup explorer (see Figure 5).
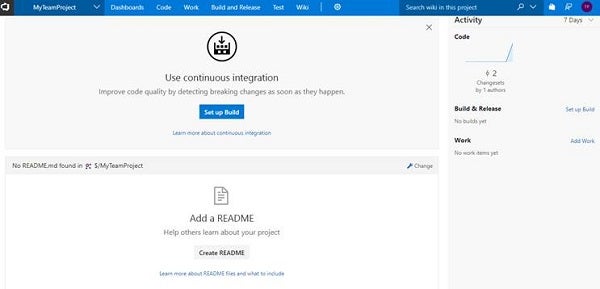
Figure 5: VSTS Automated Build Process
Next, select the source control. By default, TFVC will be selected because it was selected during the project’s creation. You can change that and select Git or Subversion, as depicted in Figure 6. Also, select the path of your local source code and click Continue.

Figure 6: VSTS Build Process Select Code Repository
VSTS provides a Cloud-based infrastructure where the build process can be executed. Each build definition is a tasks-based workflow of various activities. By following these steps, we are defining the workflow.
Next, we will select the project template for the build. My sample project is a ASP.NET application, so ASP.NET template is selected in Figure 7.
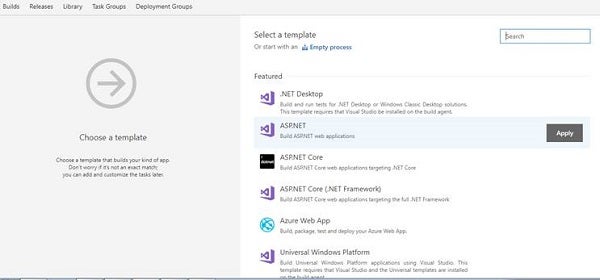
Figure 7: VSTS Build Project Template
Next, select all the NuGet packages required for the project build. These are the references you have added in your source project code (see Figure 8).
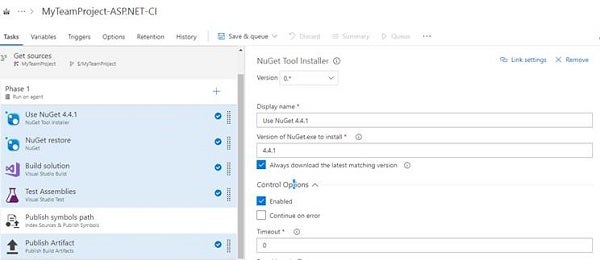
Figure 8: VSTS Build NuGet Package
Make sure all the NuGet packages you have selected in the previous step are enabled. Select other relevant properties, as you can see in Figure 9.
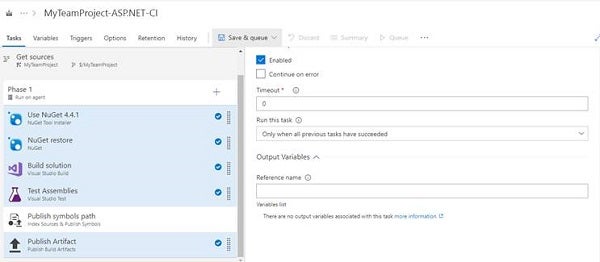
Figure 9: VSTS Build NuGet Package
Finally, save the build definition and queue it. For each build definition, we can set an automation trigger (see Figure 10) to start the build for every check-in that happens for any code in version control.

Figure 10: VSTS Build Save Definition
Step 4
Set up code in VSTS so that multiple team members can work on the same code base. Teams can work collaboratively to integrate various code files into a coherent component. Figure 11 depicts source code I have uploaded from my local development environment to VSTS.
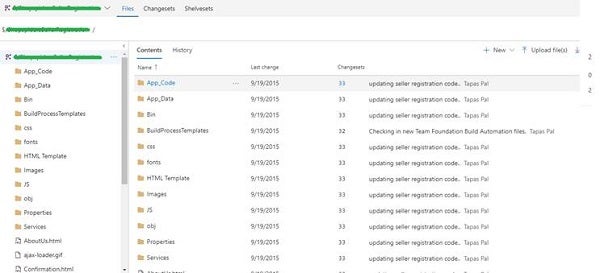
Figure 11: Project Source Code
To get access to the code, all the developers must be added from the user screen, as shown in Figure 12.
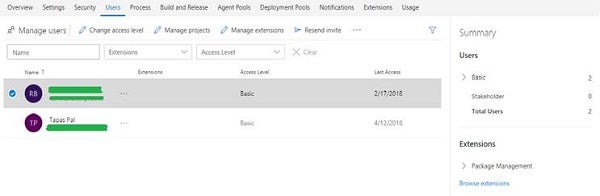
Figure 12: Project Team Members
Time zone and other settings could be changed from the Settings option (see Figure 13).
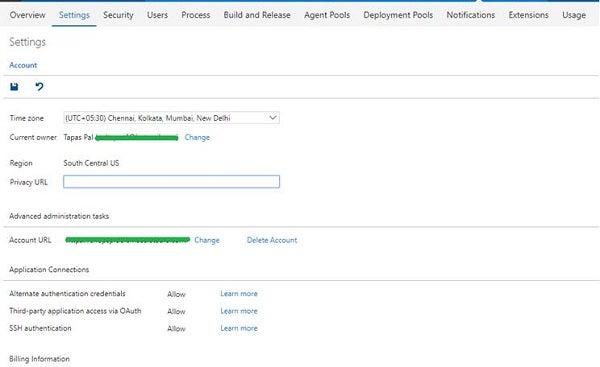
Figure 13: Project Settings
Adding Your Source Code to VSTS
Let me show you the steps to upload your code from your local development environment to VSTS. The source code of the sample project created in the previous step was developed using Visual Studio 2017 on my laptop. To upload in VSTS, open Visual Studio 2017 and select the existing project. Once the project is opened, right-click the Solution Explorer and select “Add Solution to Source Control” button, as in Figure 14.
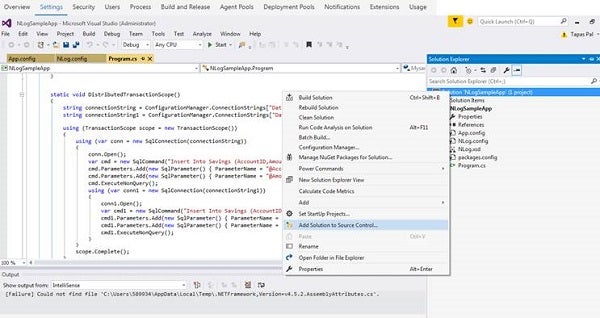
Figure 14: Visual Studio 2017 Source Code
Next, select the source control system. In our example, it’s TFVC (see Figure 15).

Figure 15: Select Source Control
From the connection window, select the TFS server name and the account name. Click Connect; you can see the results in Figure 16.
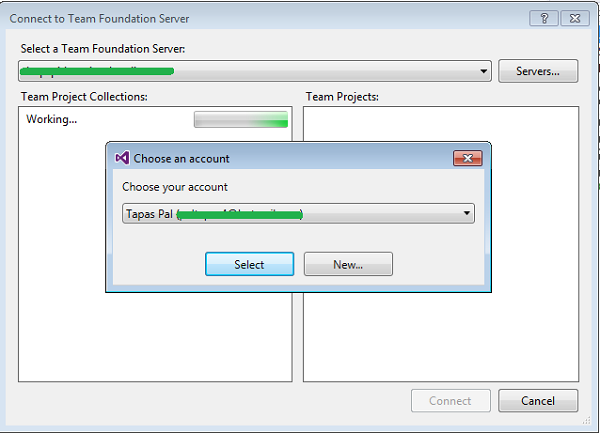
Figure 16: Connect VSTS
Once successfully connected, you will see all the projects created in VSTS. Select the project you had created in the previous step and click Connect (see Figure 17).
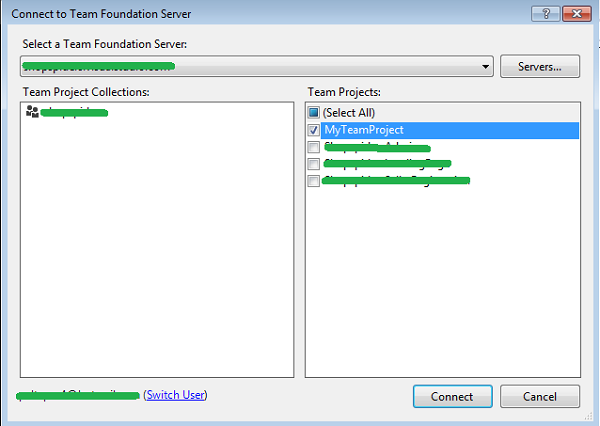
Figure 17: Connect to VSTS
Finally, verify that the server and project name selected are correct (see Figure 18) and click OK. It will upload the source code from the local development environment to the VSTS server.

Figure 18: Upload Source Code to VSTS
Conclusion
That’s it for today. Enjoy Reading!