

Introduction
With the launch of Windows Phone 8.1, Microsoft has delivered a bunch of new APIs for developers to use in their applications. One of the new offerings of Windows Phone 8.1 is the API to record the audio and video of the contents being displayed on the device. This featured is enabled through the use of ScreenCapture class that is housed in the Windows.Media.Capture namespace.
The Basics
The ScreenCapture class resides in the Windows.Media.Capture namespace. Screen capturing works by using an object of the ScreenCapture class to capture the audio and video playing on the device. Recording will only work if the application has declared the permissions as part of the application manifest. Additionally, recording will not work for DRM-protected content.
Hands On
Let us create a simple Windows Phone 8.1 application that can record what is happening on the device screen. In Visual Studio 2013, create a new Windows Phone application by using the Blank App template, as shown in Figure 1. Name the project WPScreenCaptureDemo.

Figure 1: The new project
Right-click the Project name in Solution Explorer and select Properties. The Project Properties will be displayed as shown in Figure 2.
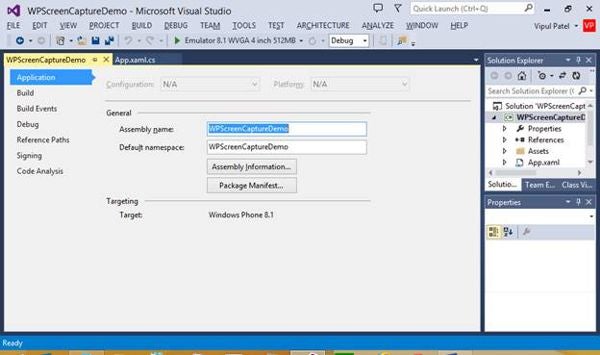
Figure 2: The Project Properties window
Click the Package Manifest button.
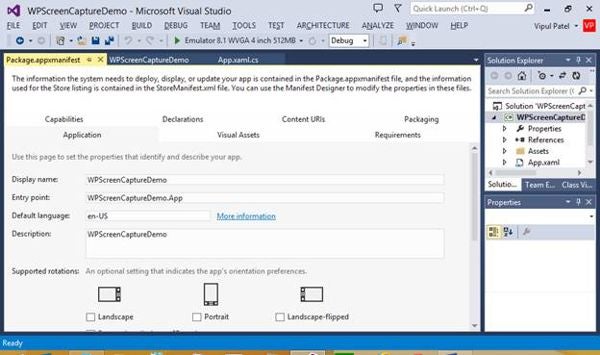
Figure 3: The Package Manifest
Click Capabilities and choose Microphone and Webcam to capture both audio and video.
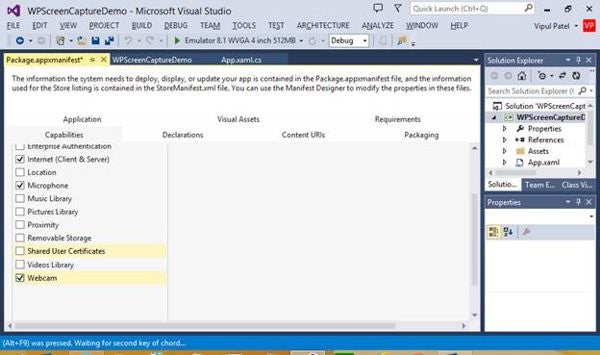
Figure 4: Choosing Microphone and Webcam to capture both audio and video
Save the changes to the manifest and close the Package.appxmanifest file.
Next, we will add a couple of buttons to the MainPage.xaml to start and stop the recording.
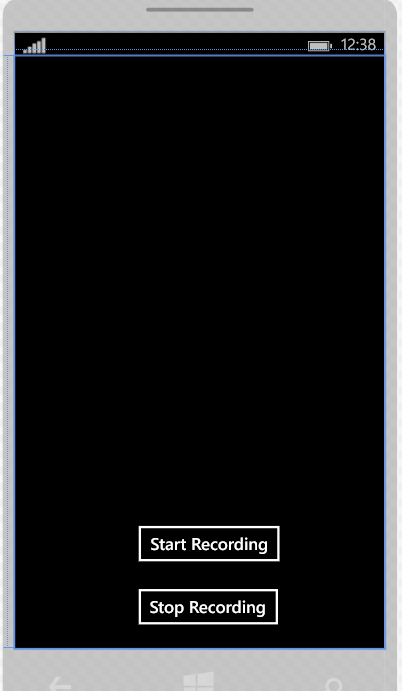
Figure 5: The start and stop recording buttons have been added
The XAML for the changes will look as shown in the following code.
<Page
   x_Class="WPScreenCaptureDemo.MainPage"

   xmlns_x="http://schemas.microsoft.com/winfx/
      2006/xaml"
   xmlns_local="using:WPScreenCaptureDemo"
   xmlns_d="http://schemas.microsoft.com/expression/
      blend/2008"
   xmlns_mc="http://schemas.openxmlformats.org/
      markup-compatibility/2006"
   mc_Ignorable="d"
   Background="{ThemeResource
      pplicationPageBackgroundThemeBrush}">

   <Grid>

      <Button x_Name="buttonStartRecording"
         Content="Start Recording" HorizontalAlignment="Left"
         Margin="134,498,0,0" VerticalAlignment="Top"/>
      <Button x_Name="buttonStopRecording"
         Content="Stop Recording" HorizontalAlignment="Left"
         Margin="134,567,0,0" VerticalAlignment="Top"/>

   </Grid>
</Page>
Open App.xaml.cs and add a couple of variables in the class to hold the MediaCapture object, as well as a flag to detected whether or not we are recording.
//App.xaml.cs
using Windows.Media.Capture;


public sealed partial class App : Application
   {

      public MediaCapture myMediaCapture { get; set; }
      public bool recordingOn { get; set; }
      private TransitionCollection transitions;

      /// <summary>
      /// Initializes the singleton application object. This
      /// is the first line of authored code executed, and as
      /// such is the logical equivalent of main() or WinMain().
      /// </summary>
      public App()
Next, we implement code in MainPage.xaml. First, include the following namespaces in MainPage.xaml.cs:
using Windows.Media.Capture;
Next, add local variables for the media capture object and a flag to track if recording is in progress.
public sealed partial class MainPage : Page
   {
      MediaCapture mediaCapture = null;
      bool currentlyRecording = false;

      public MainPage()
Finally, implement the click event handlers for the buttons on Mainpage.xaml.
      private async void buttonStartRecording_Click(object sender,
         RoutedEventArgs e)
      {
         if (!currentlyRecording)
         {
            // Get the screen Capture object for the current view.
            var screenCapture = Windows.Media.Capture.
               ScreenCapture.GetForCurrentView();

            // Next, we will create an instant of the media capture
            // initialization settings class and set the AudioSource
            // and VideoSource properties to that of screencapture's.

            var mcis = new Windows.Media.Capture.
               MediaCaptureInitializationSettings();
            mcis.VideoSource = screenCapture.VideoSource;
            mcis.AudioSource = screenCapture.AudioSource;
            mcis.StreamingCaptureMode = Windows.Media.Capture.
               StreamingCaptureMode.AudioAndVideo;

            // Next, we will initialize the local media capture object.
            mediaCapture = new MediaCapture();
            await mediaCapture.InitializeAsync(mcis);

            // Set the local mediaCapture object to the one defined
            // in App.xaml.cs.
            (App.Current as App).myMediaCapture = mediaCapture;


            // Set the destination of the recording
            var destination = await ApplicationData.Current.
               LocalCacheFolder.CreateFileAsync("recording.mp4",
               CreationCollisionOption.ReplaceExisting);
            var mediaProfile = Windows.Media.MediaProperties.
               MediaEncodingProfile.CreateMp4(Windows.
               Media.MediaProperties.VideoEncodingQuality.Auto);
            await mediaCapture.StartRecordToStorageFileAsync
               (mediaProfile, destination);

            currentlyRecording = true;
            (App.Current as App).recordingOn = true;
         }
      }

      private async void buttonStopRecording_Click(object sender,
         RoutedEventArgs e)
      {
         if(currentlyRecording)
         await mediaCapture.StopRecordAsync();
      }
Our basic application is now ready.
Caveat: We have not handled scenarios such as the application being switched to the background and then restored back. These need to be handled in any production-ready application.
When we launch our application for the first time, we will be prompted whether we permit the application to record the screen. If we do not allow the recording, we will encounter an exception in our application.
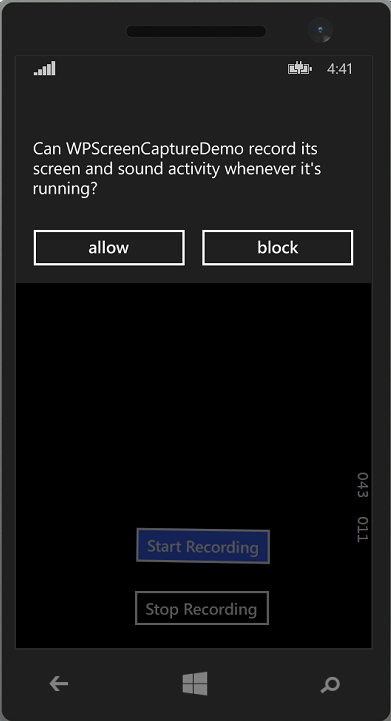
Figure 6: Ready to stop recording
The recorded file is in the localcache folder so it will not be accessible from outside the application. If you want to copy the file to another folder, you need to handle that as part of the Stop Recording event handler.
Summary
In this article, we learned about using the ScreenCapture class to build a screen recorder application for Windows Phone 8.1. The sample code can be downloaded from the bottom of this article.
About the Author
Vipul Patel is a technology geek based in Seattle. He can be reached at [email protected]. You can visit his LinkedIn profile at https://www.linkedin.com/pub/vipul-patel/6/675/508.