

Introduction
“Power to the users” – That is the mantra application developers should have in mind when they build the next Angry Birds or Evernote. Users increasingly demand the ability to tweak the applications they use to suit their taste and usage pattern.
Windows 8 provides the ability for developers to handle application settings through programmatic features. Windows Store platform offers the ability to create a settings page capability and making it available for the app users.
In Visual Studio 2013, creating the UI for application settings is as easy as adding a new SettingsFlyout to the application. Right click on Project and Add a new Item. Select SettingsFlyout and click OK.
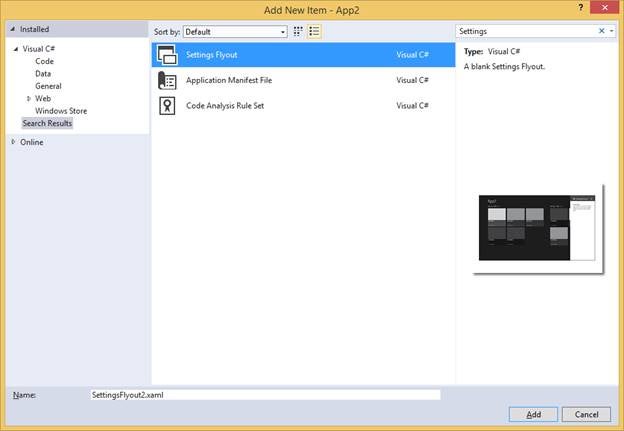
Add New Item
You can customize the name of the SettingFlyout XAML control if you want to.
To use the SettingsFlyout in your application, you need to wire it in your App.xaml.cs by adding the following code.
protected override void OnWindowCreated(WindowCreatedEventArgs args)
        {
            SettingsPane.GetForCurrentView().CommandsRequested += OnCommandsRequested;
        }

        private void OnCommandsRequested(SettingsPane sender, SettingsPaneCommandsRequestedEventArgs args)
        {

            args.Request.ApplicationCommands.Add(new SettingsCommand(
                "Custom Setting", "Custom Setting", (handler) => ShowCustomSettingFlyout()));
        }

        public void ShowCustomSettingFlyout()
        {
            SettingsFlyout2 CustomSettingFlyout = new SettingsFlyout2();
            CustomSettingFlyout.Show();
        }
Application settings can be stored and accessed with the Windows.Storage.ApplicationDataContainer class and stored using the Windows.Storage.StorageFolder class.
They can be accessed programmatically as we can see in the hands-on demo below.
HandsOn
Create a new Windows Store application project titled WSApplicationSettingsDemo in Visual Studio 2013.
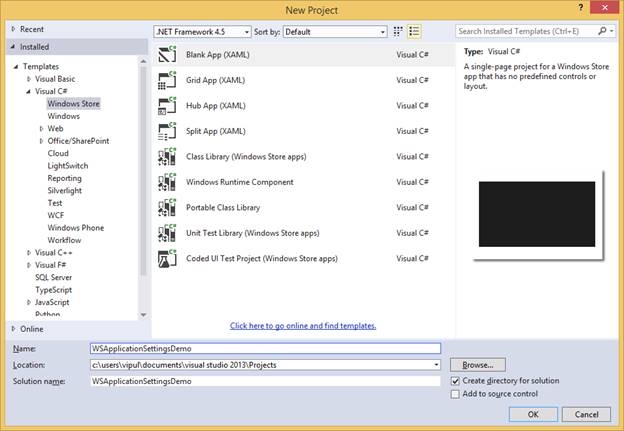
New Project
Add a new SettingsFlyout control to the application by right-clicking on the project name and selecting “Add new item”.
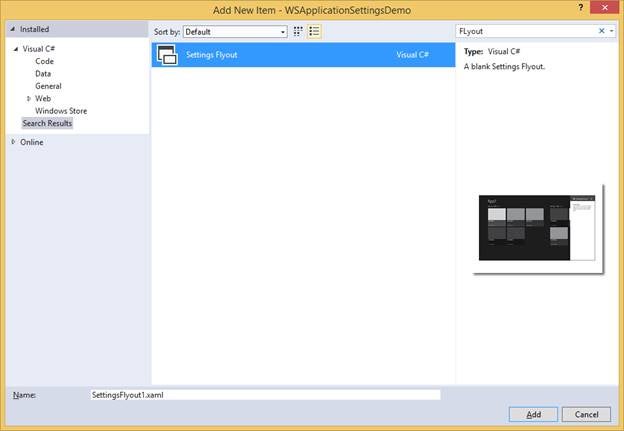
Add SettingsFlyout Control
Open the XAML for the SettingsFlyout1 page and change the defaults to match what is shown below.
Original XAML contents for SettingsFlyout1.xaml.
<SettingsFlyout
    x:Class="WSApplicationSettingsDemo.SettingsFlyout1"
    xmlns="http://schemas.microsoft.com/winfx/2006/xaml/presentation"
    xmlns:x="http://schemas.microsoft.com/winfx/2006/xaml"
    xmlns:local="using:WSApplicationSettingsDemo"
    xmlns:d="http://schemas.microsoft.com/expression/blend/2008"
    xmlns:mc="http://schemas.openxmlformats.org/markup-compatibility/2006"
    mc:Ignorable="d"
    IconSource="Assets/SmallLogo.png"
    Title="SettingsFlyout1"
    d:DesignWidth="346">

    <!-- This StackPanel acts as a root panel for vertical layout of the content sections -->
    <StackPanel VerticalAlignment="Stretch" HorizontalAlignment="Stretch" >

        <!-- The StackPanel(s) below define individual content sections -->

        <!-- Content Section 1-->
        <StackPanel Style="{StaticResource SettingsFlyoutSectionStyle}">

            <!-- Section 1 header -->
            <TextBlock Style="{StaticResource TitleTextBlockStyle}" Text="Lorem ipsum" />

            <!-- Section 1 body -->
            <TextBlock Style="{StaticResource BodyTextBlockStyle}" Margin="0,0,0,25" TextWrapping="Wrap">
                <TextBlock.Text>
                    Lorem ipsum dolor sit amet, consectetur adipisicing elit,
                    sed do eiusmod tempor incididunt ut labore et dolore magna aliqua.
                </TextBlock.Text>
            </TextBlock>

        </StackPanel>

        <!-- Define more Content Sections below as necessary -->

    </StackPanel>
</SettingsFlyout>
Change this to:
<SettingsFlyout
    x:Class="WSApplicationSettingsDemo.SettingsFlyout1"
    xmlns="http://schemas.microsoft.com/winfx/2006/xaml/presentation"
    xmlns:x="http://schemas.microsoft.com/winfx/2006/xaml"
    xmlns:local="using:WSApplicationSettingsDemo"
    xmlns:d="http://schemas.microsoft.com/expression/blend/2008"
    xmlns:mc="http://schemas.openxmlformats.org/markup-compatibility/2006"
    mc:Ignorable="d"
    IconSource="Assets/SmallLogo.png"
    Title="SettingsFlyout1"
    d:DesignWidth="346" Loaded="SettingsFlyout_Loaded">

    <!-- This StackPanel acts as a root panel for vertical layout of the content sections -->
    <StackPanel VerticalAlignment="Stretch" HorizontalAlignment="Stretch" >

        <!-- The StackPanel(s) below define individual content sections -->

        <!-- Content Section 1-->
        <StackPanel Style="{StaticResource SettingsFlyoutSectionStyle}">

            <!-- Section 1 header -->
            <TextBlock Style="{StaticResource TitleTextBlockStyle}" Text="Visible" />

            <!-- Section 1 body -->

            <CheckBox Name="checkBox" IsChecked="True" Content="Enable controls visibility" />
        </StackPanel>

        <!-- Define more Content Sections below as necessary -->

    </StackPanel>
</SettingsFlyout>
Next, we wire up the events on the checkbox to store the state of the checkbox whenever it changes state into application settings. Additionally, we load up the state of the checkbox from the application settings.
The XAML will change as shown below:
<SettingsFlyout
    x:Class="WSApplicationSettingsDemo.SettingsFlyout1"
    xmlns="http://schemas.microsoft.com/winfx/2006/xaml/presentation"
    xmlns:x="http://schemas.microsoft.com/winfx/2006/xaml"
    xmlns:local="using:WSApplicationSettingsDemo"
    xmlns:d="http://schemas.microsoft.com/expression/blend/2008"
    xmlns:mc="http://schemas.openxmlformats.org/markup-compatibility/2006"
    mc:Ignorable="d"
    IconSource="Assets/SmallLogo.png"
    Title="SettingsFlyout1"
    d:DesignWidth="346" Loaded="SettingsFlyout_Loaded">

    <!-- This StackPanel acts as a root panel for vertical layout of the content sections -->
    <StackPanel VerticalAlignment="Stretch" HorizontalAlignment="Stretch" >

        <!-- The StackPanel(s) below define individual content sections -->

        <!-- Content Section 1-->
        <StackPanel Style="{StaticResource SettingsFlyoutSectionStyle}">

            <!-- Section 1 header -->
            <TextBlock Style="{StaticResource TitleTextBlockStyle}" Text="Visible" />

            <!-- Section 1 body -->

            <CheckBox Name="checkBox" IsChecked="True" Content="Enable controls visibility" Checked="checkBoxVisiblity_Checked" Unchecked="checkBox_Unchecked"/>
        </StackPanel>

        <!-- Define more Content Sections below as necessary -->

    </StackPanel>
</SettingsFlyout>
The code behind for SettingsFlyout1.xaml (SettingsFlyout1.xaml.cs) will be as follows.
using System;
using System.Collections.Generic;
using System.IO;
using System.Linq;
using System.Runtime.InteropServices.WindowsRuntime;
using Windows.Foundation;
using Windows.Foundation.Collections;
using Windows.UI.Xaml;
using Windows.UI.Xaml.Controls;
using Windows.UI.Xaml.Controls.Primitives;
using Windows.UI.Xaml.Data;
using Windows.UI.Xaml.Input;
using Windows.UI.Xaml.Media;
using Windows.UI.Xaml.Navigation;

// The Settings Flyout item template is documented at http://go.microsoft.com/fwlink/?LinkId=273769

namespace WSApplicationSettingsDemo
{
    public sealed partial class SettingsFlyout1 : SettingsFlyout
    {
        public SettingsFlyout1()
        {
            this.InitializeComponent();
        }


        private void checkBoxVisiblity_Checked(object sender, RoutedEventArgs e)
        {
            Windows.Storage.ApplicationDataContainer localSettings = Windows.Storage.ApplicationData.Current.LocalSettings;
            Windows.Storage.StorageFolder localFolder = Windows.Storage.ApplicationData.Current.LocalFolder;
            if (this.checkBox != null)
                localSettings.Values["ControlVisibility"] = (bool)this.checkBox.IsChecked;
        }

        private void SettingsFlyout_Loaded(object sender, RoutedEventArgs e)
        {
            Windows.Storage.ApplicationDataContainer localSettings = Windows.Storage.ApplicationData.Current.LocalSettings;
            Windows.Storage.StorageFolder localFolder = Windows.Storage.ApplicationData.Current.LocalFolder;
            if (localSettings.Values["ControlVisibility"] != null)
                this.checkBox.IsChecked = (bool?)localSettings.Values["ControlVisibility"];
        }

        private void checkBox_Unchecked(object sender, RoutedEventArgs e)
        {
            Windows.Storage.ApplicationDataContainer localSettings = Windows.Storage.ApplicationData.Current.LocalSettings;
            Windows.Storage.StorageFolder localFolder = Windows.Storage.ApplicationData.Current.LocalFolder;
            if (this.checkBox != null)
                localSettings.Values["ControlVisibility"] = (bool)this.checkBox.IsChecked;
        }
    }
}
Now, we are ready to wire this in App.xaml.cs as described earlier.
Add the highlighted code in your App.xaml.cs:
using System;
using System.Collections.Generic;
using System.IO;
using System.Linq;
using System.Runtime.InteropServices.WindowsRuntime;
using Windows.ApplicationModel;
using Windows.ApplicationModel.Activation;
using Windows.Foundation;
using Windows.Foundation.Collections;
using Windows.UI.ApplicationSettings;
using Windows.UI.Xaml;
using Windows.UI.Xaml.Controls;
using Windows.UI.Xaml.Controls.Primitives;
using Windows.UI.Xaml.Data;
using Windows.UI.Xaml.Input;
using Windows.UI.Xaml.Media;
using Windows.UI.Xaml.Navigation;

// The Blank Application template is documented at http://go.microsoft.com/fwlink/?LinkId=234227

namespace WSApplicationSettingsDemo
{
    /// <summary>
    /// Provides application-specific behavior to supplement the default Application class.
    /// </summary>
    sealed partial class App : Application
    {
        /// <summary>
        /// Initializes the singleton application object.  This is the first line of authored code
        /// executed, and as such is the logical equivalent of main() or WinMain().
        /// </summary>
        public App()
        {
            this.InitializeComponent();
            this.Suspending += OnSuspending;
        }

        /// <summary>
        /// Invoked when the application is launched normally by the end user.  Other entry points
        /// will be used such as when the application is launched to open a specific file.
        /// </summary>
        /// <param name="e">Details about the launch request and process.</param>
        protected override void OnLaunched(LaunchActivatedEventArgs e)
        {

#if DEBUG
            if (System.Diagnostics.Debugger.IsAttached)
            {
                this.DebugSettings.EnableFrameRateCounter = true;
            }
#endif

            Frame rootFrame = Window.Current.Content as Frame;

            // Do not repeat app initialization when the Window already has content,
            // just ensure that the window is active
            if (rootFrame == null)
            {
                // Create a Frame to act as the navigation context and navigate to the first page
                rootFrame = new Frame();
                // Set the default language
                rootFrame.Language = Windows.Globalization.ApplicationLanguages.Languages[0];

                rootFrame.NavigationFailed += OnNavigationFailed;

                if (e.PreviousExecutionState == ApplicationExecutionState.Terminated)
                {
                    //TODO: Load state from previously suspended application
                }

                // Place the frame in the current Window
                Window.Current.Content = rootFrame;
            }

            if (rootFrame.Content == null)
            {
                // When the navigation stack isn't restored navigate to the first page,
                // configuring the new page by passing required information as a navigation
                // parameter
                rootFrame.Navigate(typeof(MainPage), e.Arguments);
            }
            // Ensure the current window is active
            Window.Current.Activate();
        }

        protected override void OnWindowCreated(WindowCreatedEventArgs args)
        {
            SettingsPane.GetForCurrentView().CommandsRequested += OnCommandsRequested;
        }

        private void OnCommandsRequested(SettingsPane sender, SettingsPaneCommandsRequestedEventArgs args)
        {

            args.Request.ApplicationCommands.Add(new SettingsCommand(
                "Custom Setting", "Custom Setting", (handler) => ShowCustomSettingFlyout()));
        }

        public void ShowCustomSettingFlyout()
        {
            SettingsFlyout1 CustomSettingFlyout = new SettingsFlyout1();
            CustomSettingFlyout.Show();
        }


        /// <summary>
        /// Invoked when Navigation to a certain page fails
        /// </summary>
        /// <param name="sender">The Frame which failed navigation</param>
        /// <param name="e">Details about the navigation failure</param>
        void OnNavigationFailed(object sender, NavigationFailedEventArgs e)
        {
            throw new Exception("Failed to load Page " + e.SourcePageType.FullName);
        }

        /// <summary>
        /// Invoked when application execution is being suspended.  Application state is saved
        /// without knowing whether the application will be terminated or resumed with the contents
        /// of memory still intact.
        /// </summary>
        /// <param name="sender">The source of the suspend request.</param>
        /// <param name="e">Details about the suspend request.</param>
        private void OnSuspending(object sender, SuspendingEventArgs e)
        {
            var deferral = e.SuspendingOperation.GetDeferral();
            //TODO: Save application state and stop any background activity
            deferral.Complete();
        }
    }
}
Our application is now ready. Compile and execute the application. Swipe left from the right side to bring in the Settings charm and access the settings for the application. If you deploy the application, you can see that the setting of the checkbox is retained even if the application is restarted.
Summary
In this article, we learned how to handle application settings in Windows Store applications. I hope you found this information useful.
About the Author
Vipul Patel is a Program Manager currently working at Amazon Corporation. He has formerly worked at Microsoft in the Lync team and in the .NET team (in the Base Class libraries and the Debugging and Profiling team). He can be reached at [email protected]