Introduction
Hello and welcome to today’s article. A frequent question that gets asked on CodeGuru is how to save the contents of a ListView to a text file. Today, I aim to answer this question. Today, you will learn what a ListView is, and how to save its contents to a text file using VB.
What Is a ListView?
According to Microsoft, a ListView can be described as a window that displays a collection of items.
Our Project
Today’s project is a simple ListView that displays a little bit of data and then exports its contents to a text file. Let us get started.
Design
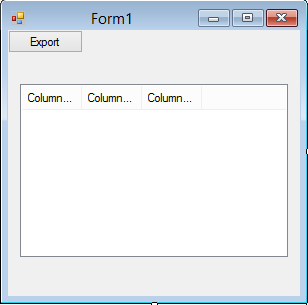
Start a new Visual Basic project and create a new Windows Forms project. You may name it anything you like, but keep in mind that I may have named the objects and my form differently. Design your Form to resemble Figure 1.
Figure 1: Our design
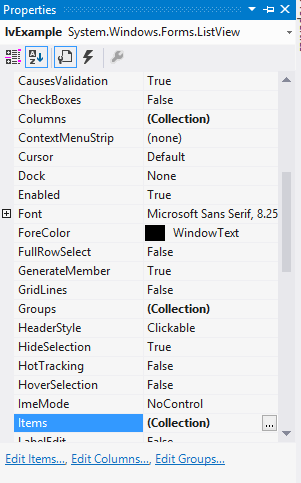
Do not be concerned about editing your ListView columns for the purpose of this article. If you want, however, you may open up the Properties window for the ListView, which will resemble Figure 2.
Figure 2: ListView Properties
Inside the Properties Window, you will notice three items at the bottom of the Properties Window screen. These will be discussed in the next sections.
Edit Items
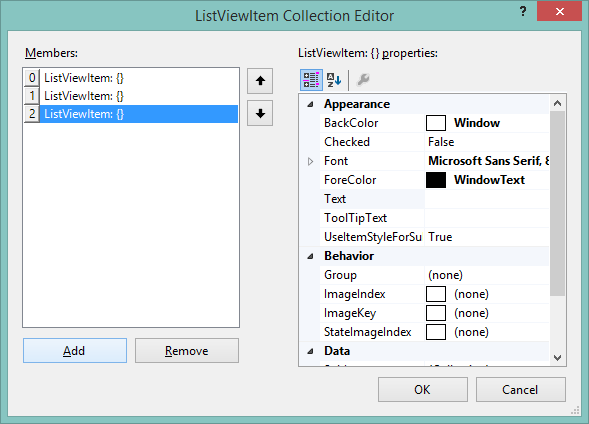
With the Edit Items option, you can set up all the desired list items for your ListView, as shown in Figure 3:
Figure 3: Edit Items
Edit Columns
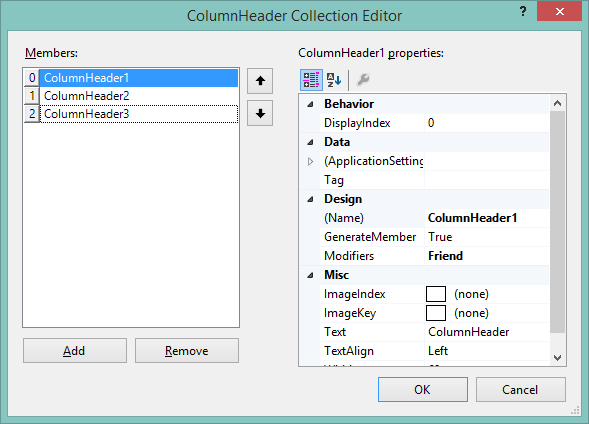
With the Edit Columns option, you are able to add, edit, and delete ListView columns, as shown in Figure 4:
Figure 4: Edit Columns
As you can see, it is pretty straightforward to add columns.
Edit Groups
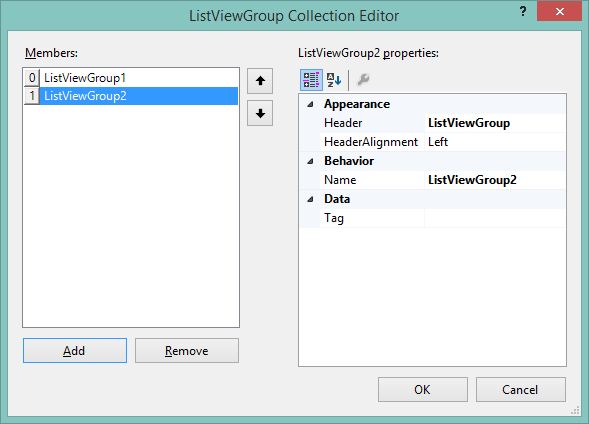
The Edit Groups Item allows you to set up list item groups inside your ListView, as shown in Figure 5:
Figure 5: Edit Groups
Code
Now that you have an understanding of how the basics of a ListView works, add three columns to it, and then add the following code:
Private Sub Form1_Load(ByVal sender As System.Object, _
      ByVal e As System.EventArgs) Handles MyBase.Load
   lvExample.Items.Add("Test0")
   lvExample.Items(0).SubItems.Add("Test1")
   lvExample.Items(0).SubItems.Add("Test2")
End Sub
With the preceding code, you add dynamically add a ListView item. You first have to add an Item. This item will be displayed in the left column. After you have added an item, you need to add its desired Subitems. I have added two subitems because there are two remaining columns in the ListView. The Subitems will be displayed next to the Item and not under it—many a newbie thinks that the subitems will be displayed underneath the previous item similar to how an ordinary ListBox works.
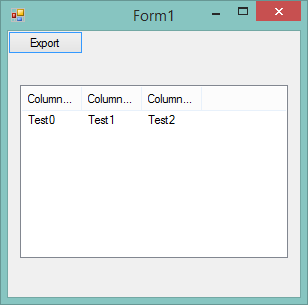
When run, your ListView will look like Figure 6:
Figure 6: Dynamically added ListView items
Add the following code to export the contents to a text file:
Private Sub Button1_Click(ByVal sender As System.Object, _
      ByVal e As System.EventArgs) Handles Button1.Click
   Using LVStream As New IO.StreamWriter("LVEx.txt")

      For Each LVi As ListViewItem In lvExample.Items

         Dim LVRow As String = ""
         For Each LVCell As ListViewItem.ListViewSubItem _
               In LVi.SubItems

            LVRow &= LVCell.Text & ","
         Next
         LVRow = LVRow.Remove(LVRow.Length - 1, 1)
         LVStream.WriteLine(LVRow)
      Next
   End Using
End Sub
Here’s a place to learn about StreamWriters.
Basically, what happens in the previous code segment is the following:
- I open up the StreamWriter and supply the name of the file into which the contents of the ListView has to be copied.
- A For Each loop is created that will loop through all the ListView items.
- The row number and the text of the cell gets written to the output file.
As easy as that.
Conclusion
I hope you have enjoyed today’s article about how to save ListView items into a text file. Until next time, cheers!


